Rear Cargo Storage and Subwoofer Box


I’ve been working on a project to get my cargo space back while still retaining my subwoofer/amplifier as well as some extra storage space for the items I carry on a daily.
I didn’t like having to recline the back seats backwards to make a flat surface for some smaller items because there wasn’t any support for the back rest. So I went to the drawing board and search the .info forums for other cargo box mods out there. My first design was only about 5″ tall which allowed the back rest lay on for some support. Only thing is 5″ minus the thickness of the MDF… Not much room for a subwoofer or storage. I ended up going 9″ tall which works perfect when the rear seats are folded forward. Nice even surface for quick cargo space… Nuff of the talking, here are the photos!
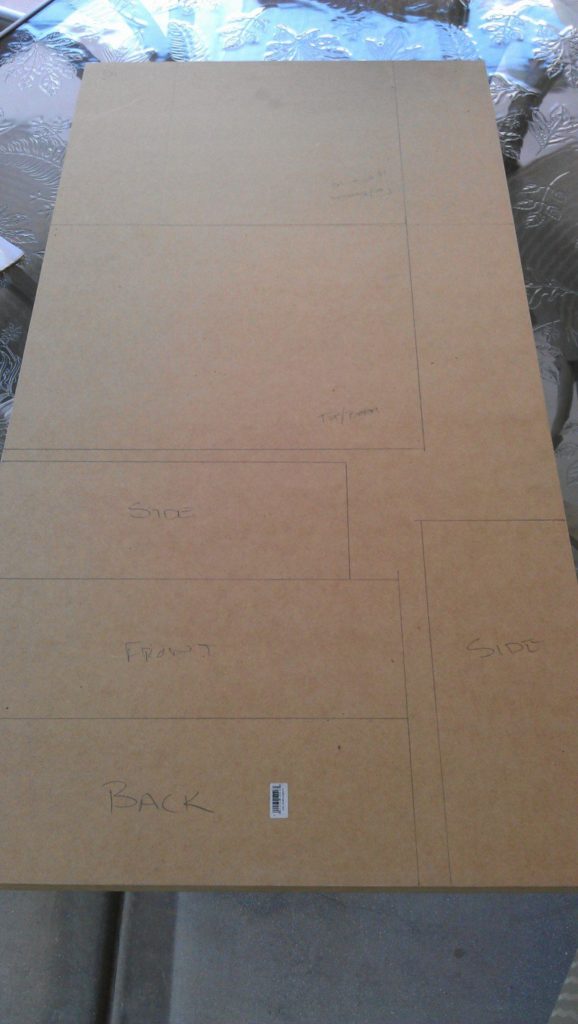
Making sure everything fits on one sheet.

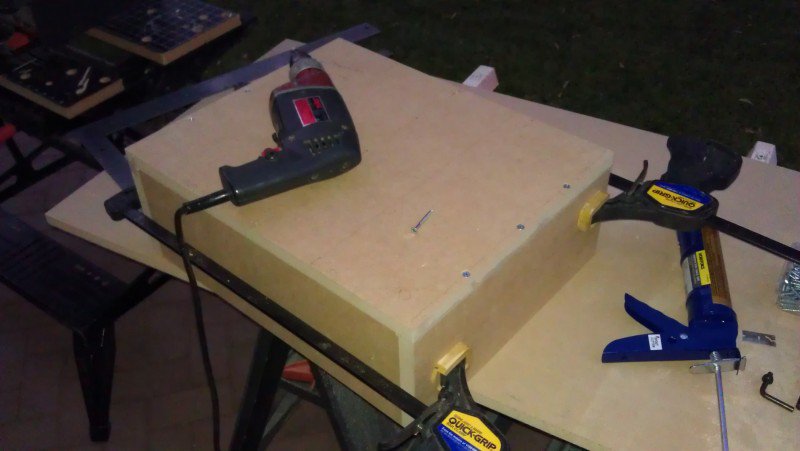
All cut, glued, and screwed! =P

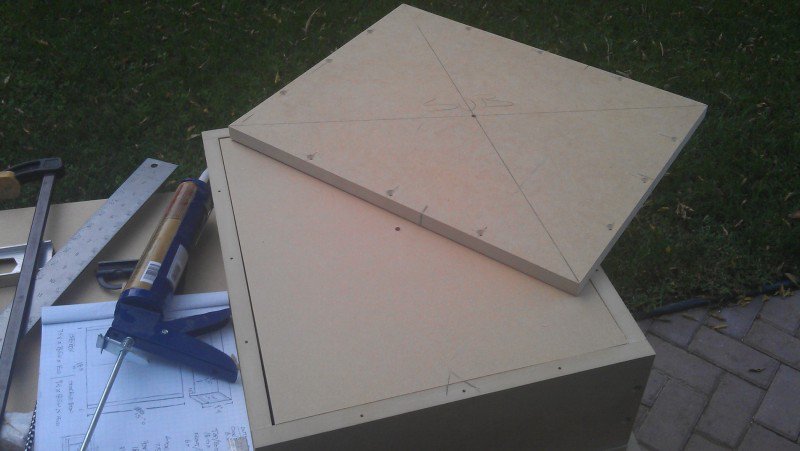
Center found, ready for hole cutting…

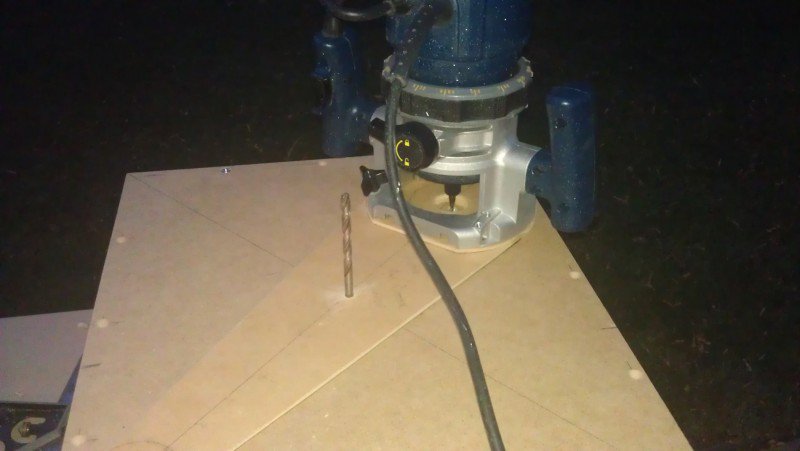
Quick router jig I made to cut the two center holes for the subwoofer.

All ready to go!

First hole.

And second hole.

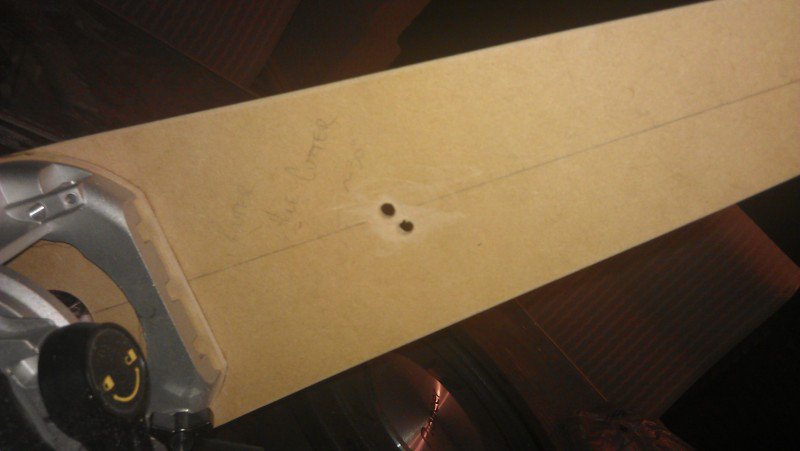
Perfectly centered counter sunk hole!

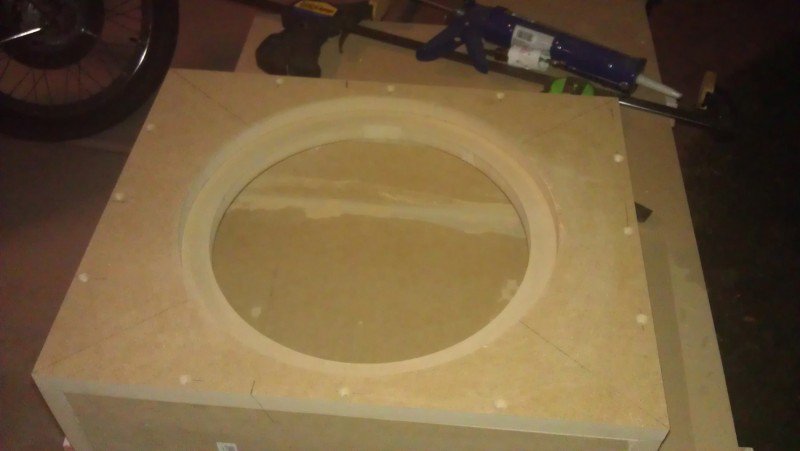
All glued and screwed!

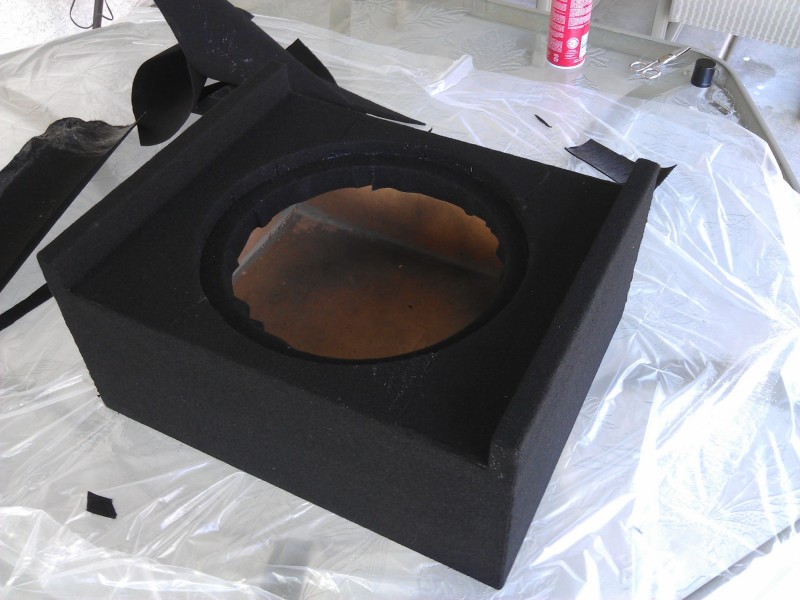
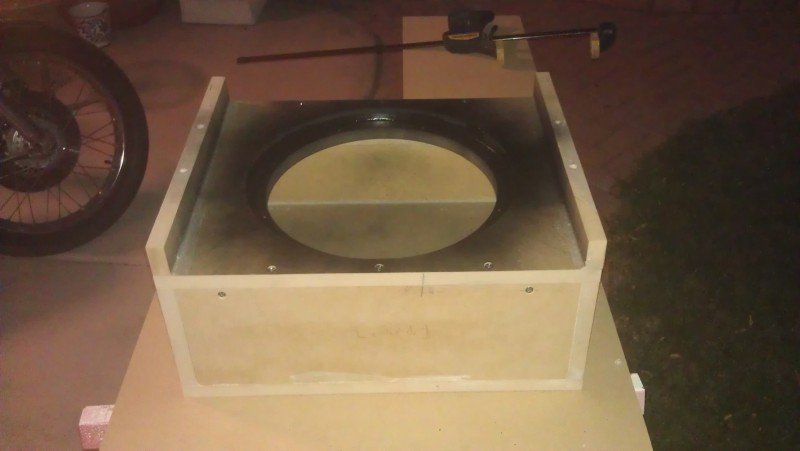
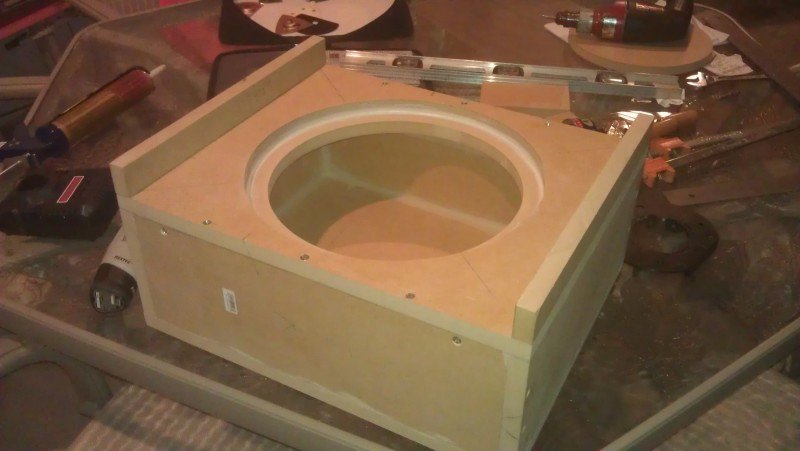
Test fit. Perfect flush mount!

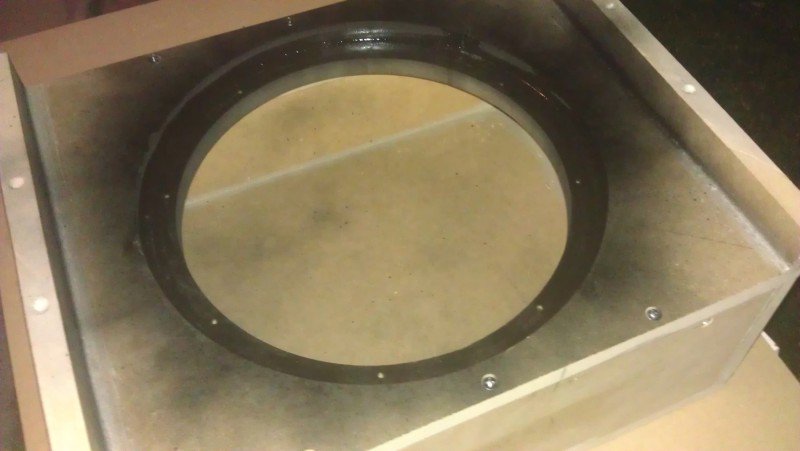
Bezel removed.

Painted the rim black where the carpet “might” show through. Probably wouldn’t matter as it will be a down facing box.

Legs attached.

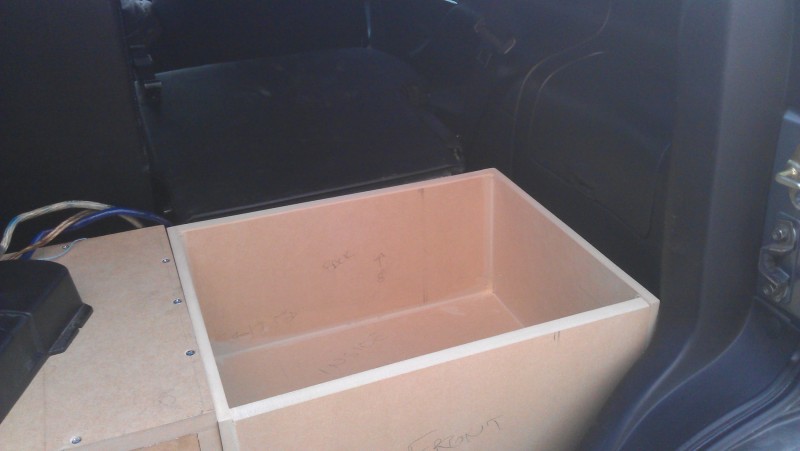
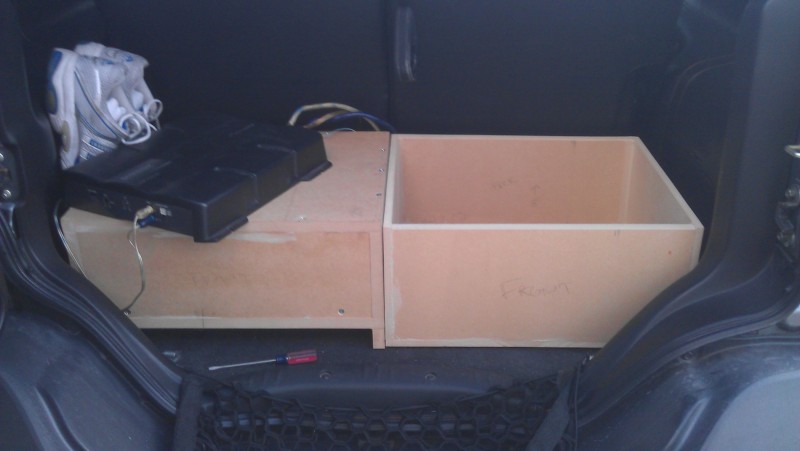
Test fit with both sub box on the left and ‘unfinished’ storage box to the right.

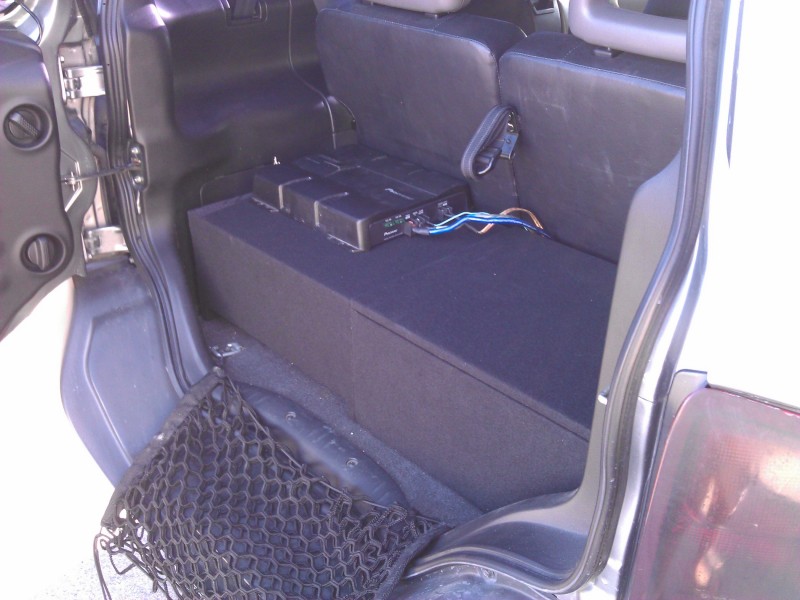
Rear seat folded down. Good enough for me!

More pictures to come as I finish things off! I will probably use epoxy resin and coat the inside of the sub box to make sure I have a full seal all around. I also opted to not use a terminal cup on the box, I just have a small hole large enough for the speaker wire to come out of and have it sealed with silicone. After all that, I will be wrapping both in acoustic carpet. Stay tuned! 🙂
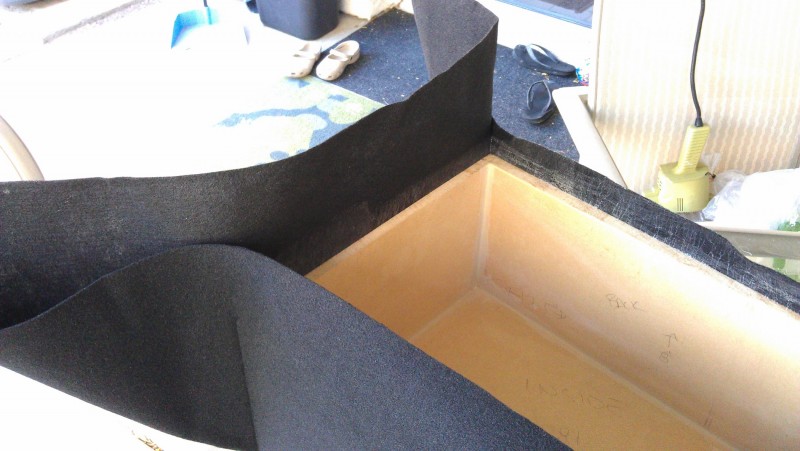
UPDATE: 11/05/2012 – Carpeted Storage Box
Adhesive used (update 03/25/2013: absolutely the best adhesive I’ve ever used, still in tacked after 4 months, absolutely no peel back, even in the hot weather and vibration.)
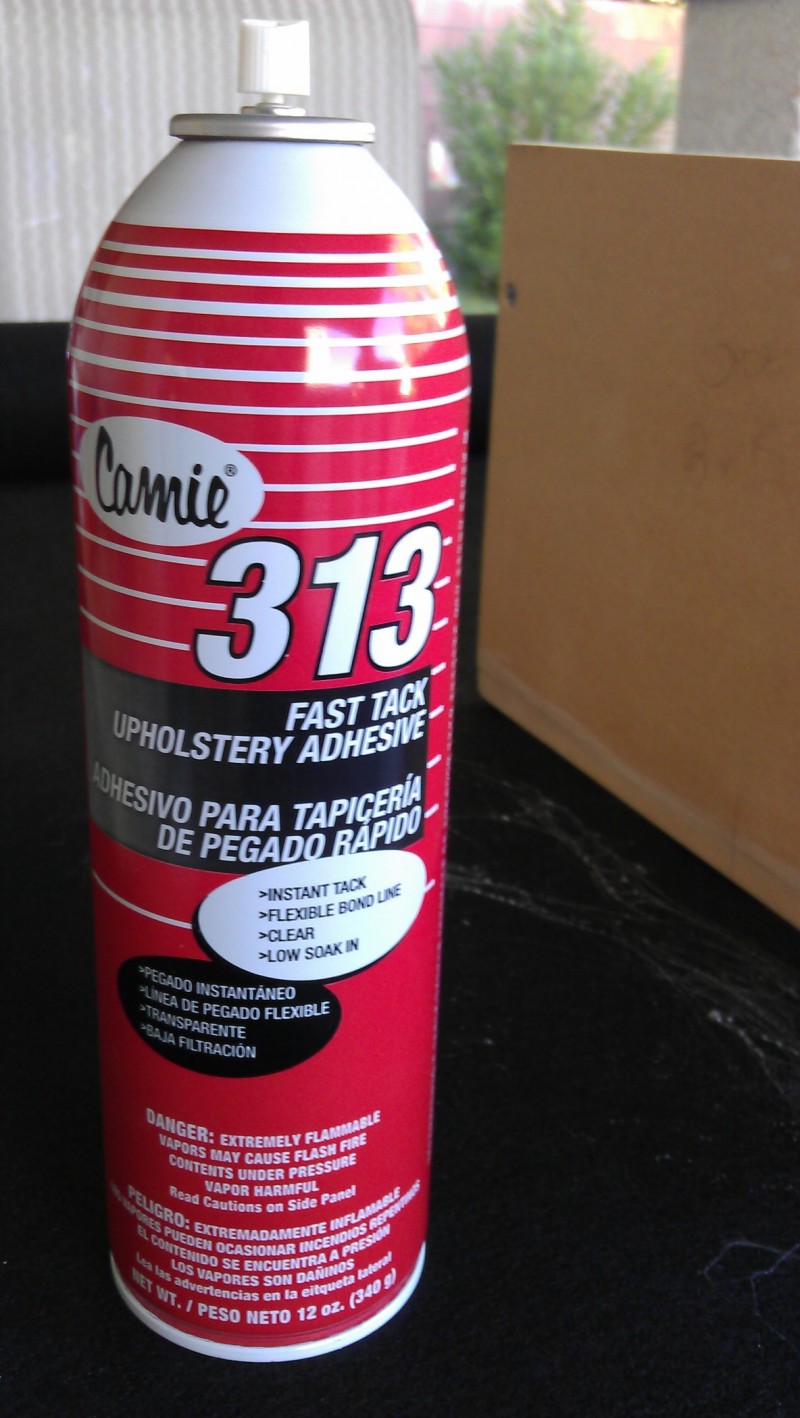
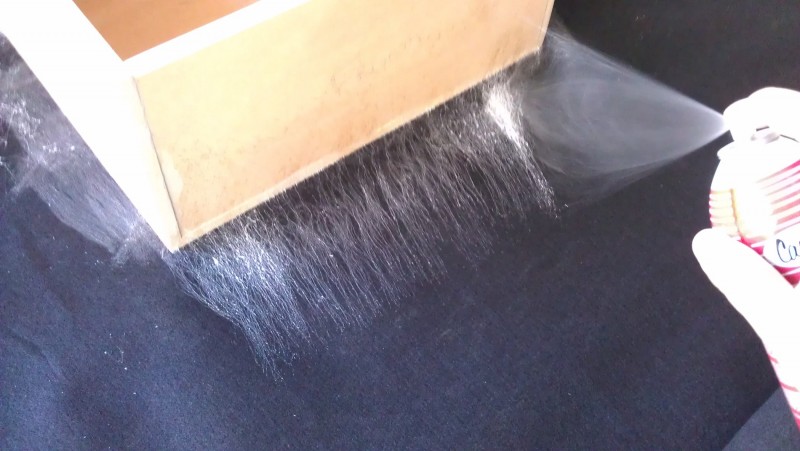
Adhesive on both surfaces.

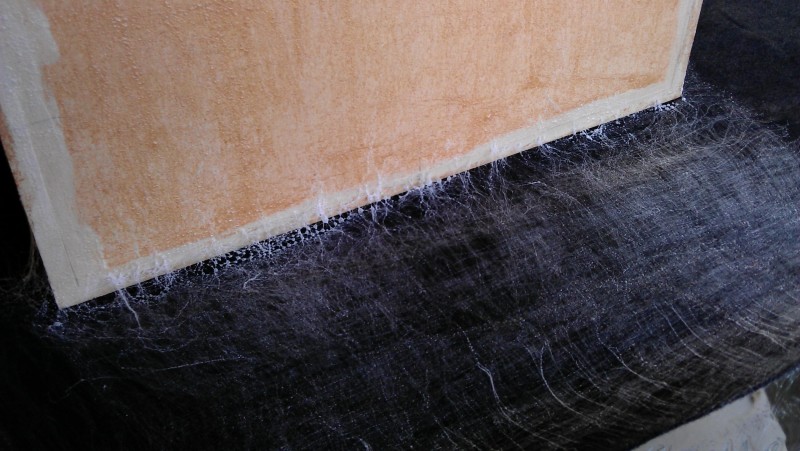
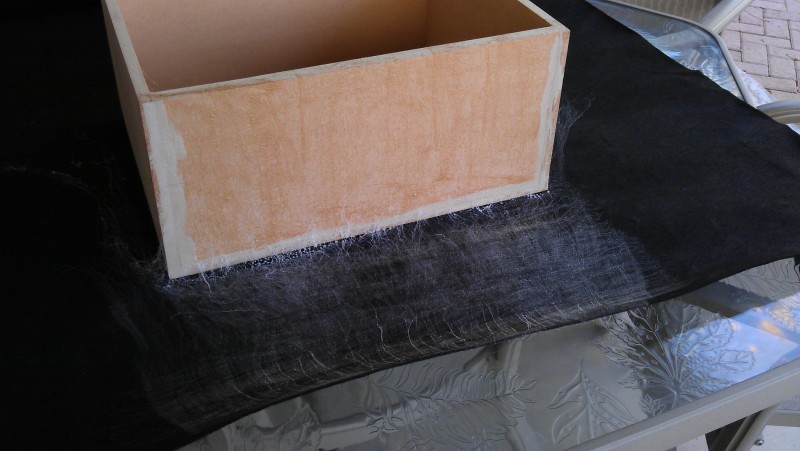
Close up, its like spider webbing!

Its pretty good stuff!

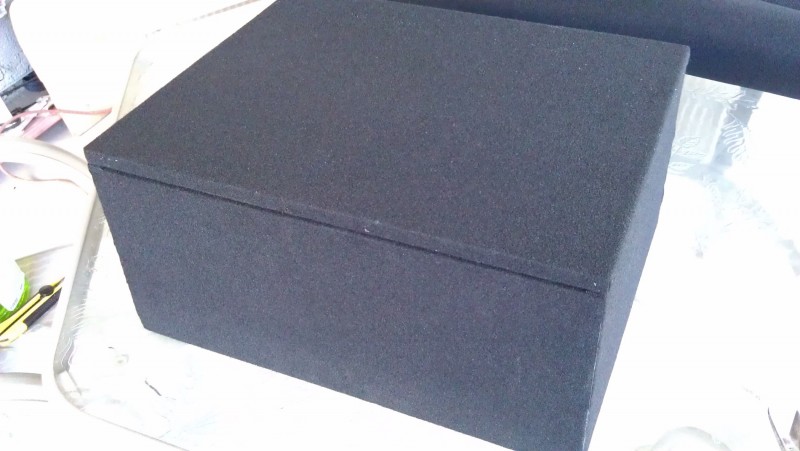
All wrapped, Corners or edges were joined nice and tight.

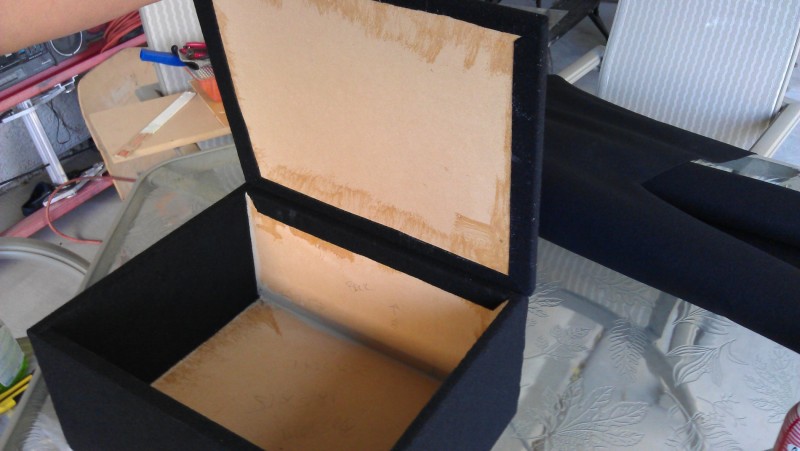
Exterior All done. Still need to finish inside. I will be carpeting the inside to prevent vibration/rattling of contents.

Example of the edges, they were just cut back, nice and clean lines (update 03/25/2013: still no peal back! Adhesive is great!

Looking nice!

UPDATE: 03/25/2013 – Carpeted Sub Box
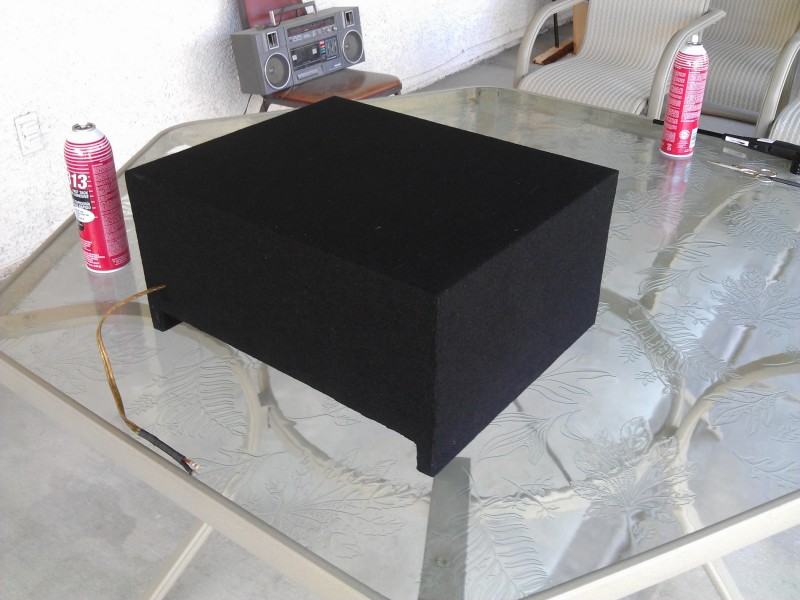
Fully wrapped.

Top and back side. Speaker cable comes out the back through a tight hole that has been sealed from the inside with liquid nails. Air Tight!

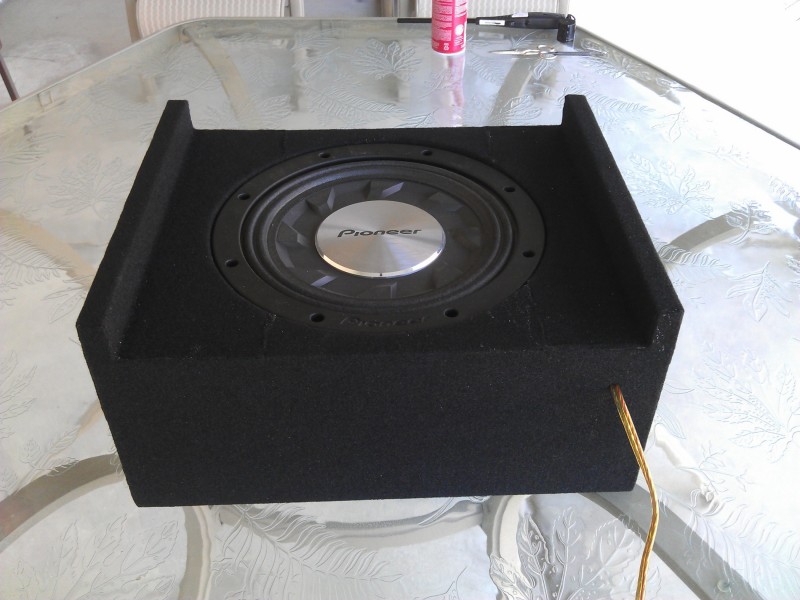
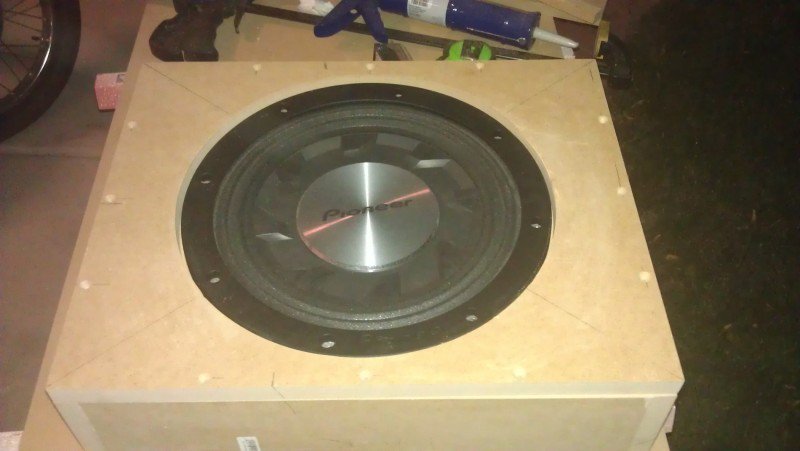
Subwoofer mounted in box.

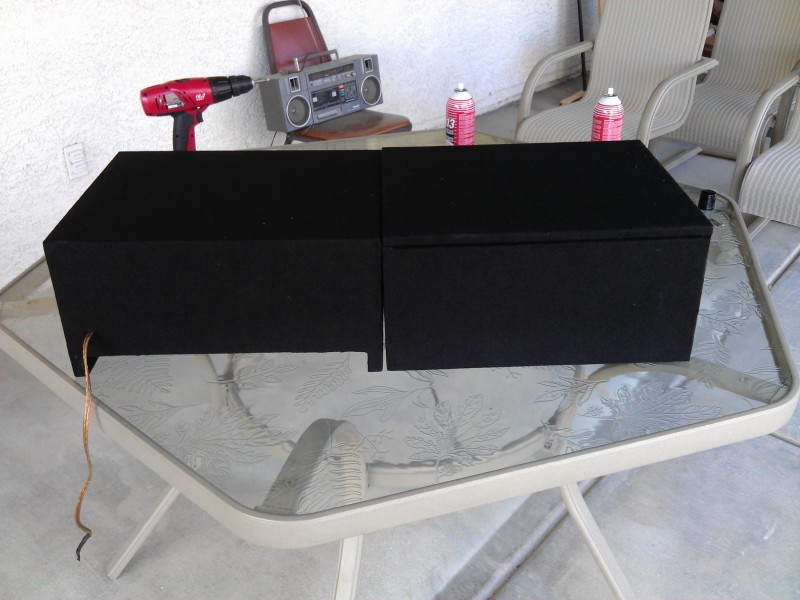
Side by side with the storage box. Gap in the center is because of table flexing in the center.

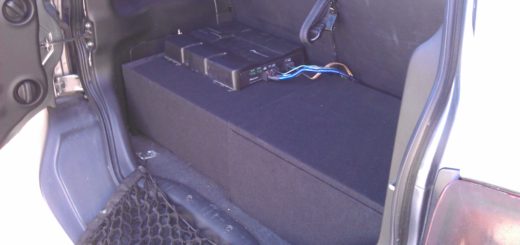
And finally both in car. Still haven’t decided what to do with amplifier. I really want to mount it behind the panel where the bottle jack is located… Just have to figure out how.

I still need to complete the hinge install in the storage box. I found the hinges online, when opened, a spring holds it open at a 75 degree angle and actually floats forward oh so slightly so it makes no contact with the back of the chair. I’ll post the pictures when that is done.