Subwoofer Amplifier Install – #2


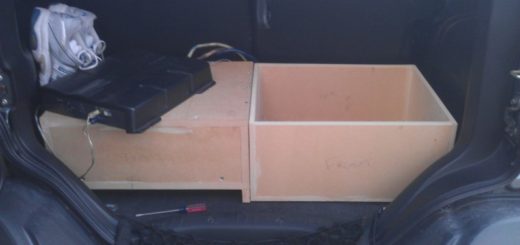
 I finally decided it was time to finish my long overdue amplifier relocation. I was getting sick of it just sitting on top of the sub box rattling around in the trunk. I originally wanted to install it behind the side panel where the jack stand is mounted. But that would require fabrication of a bracket, removal of the side wall trim and more. Something I didn’t really want to get into, so I decided to try my luck under the driver’s seat. It was a lucky day!
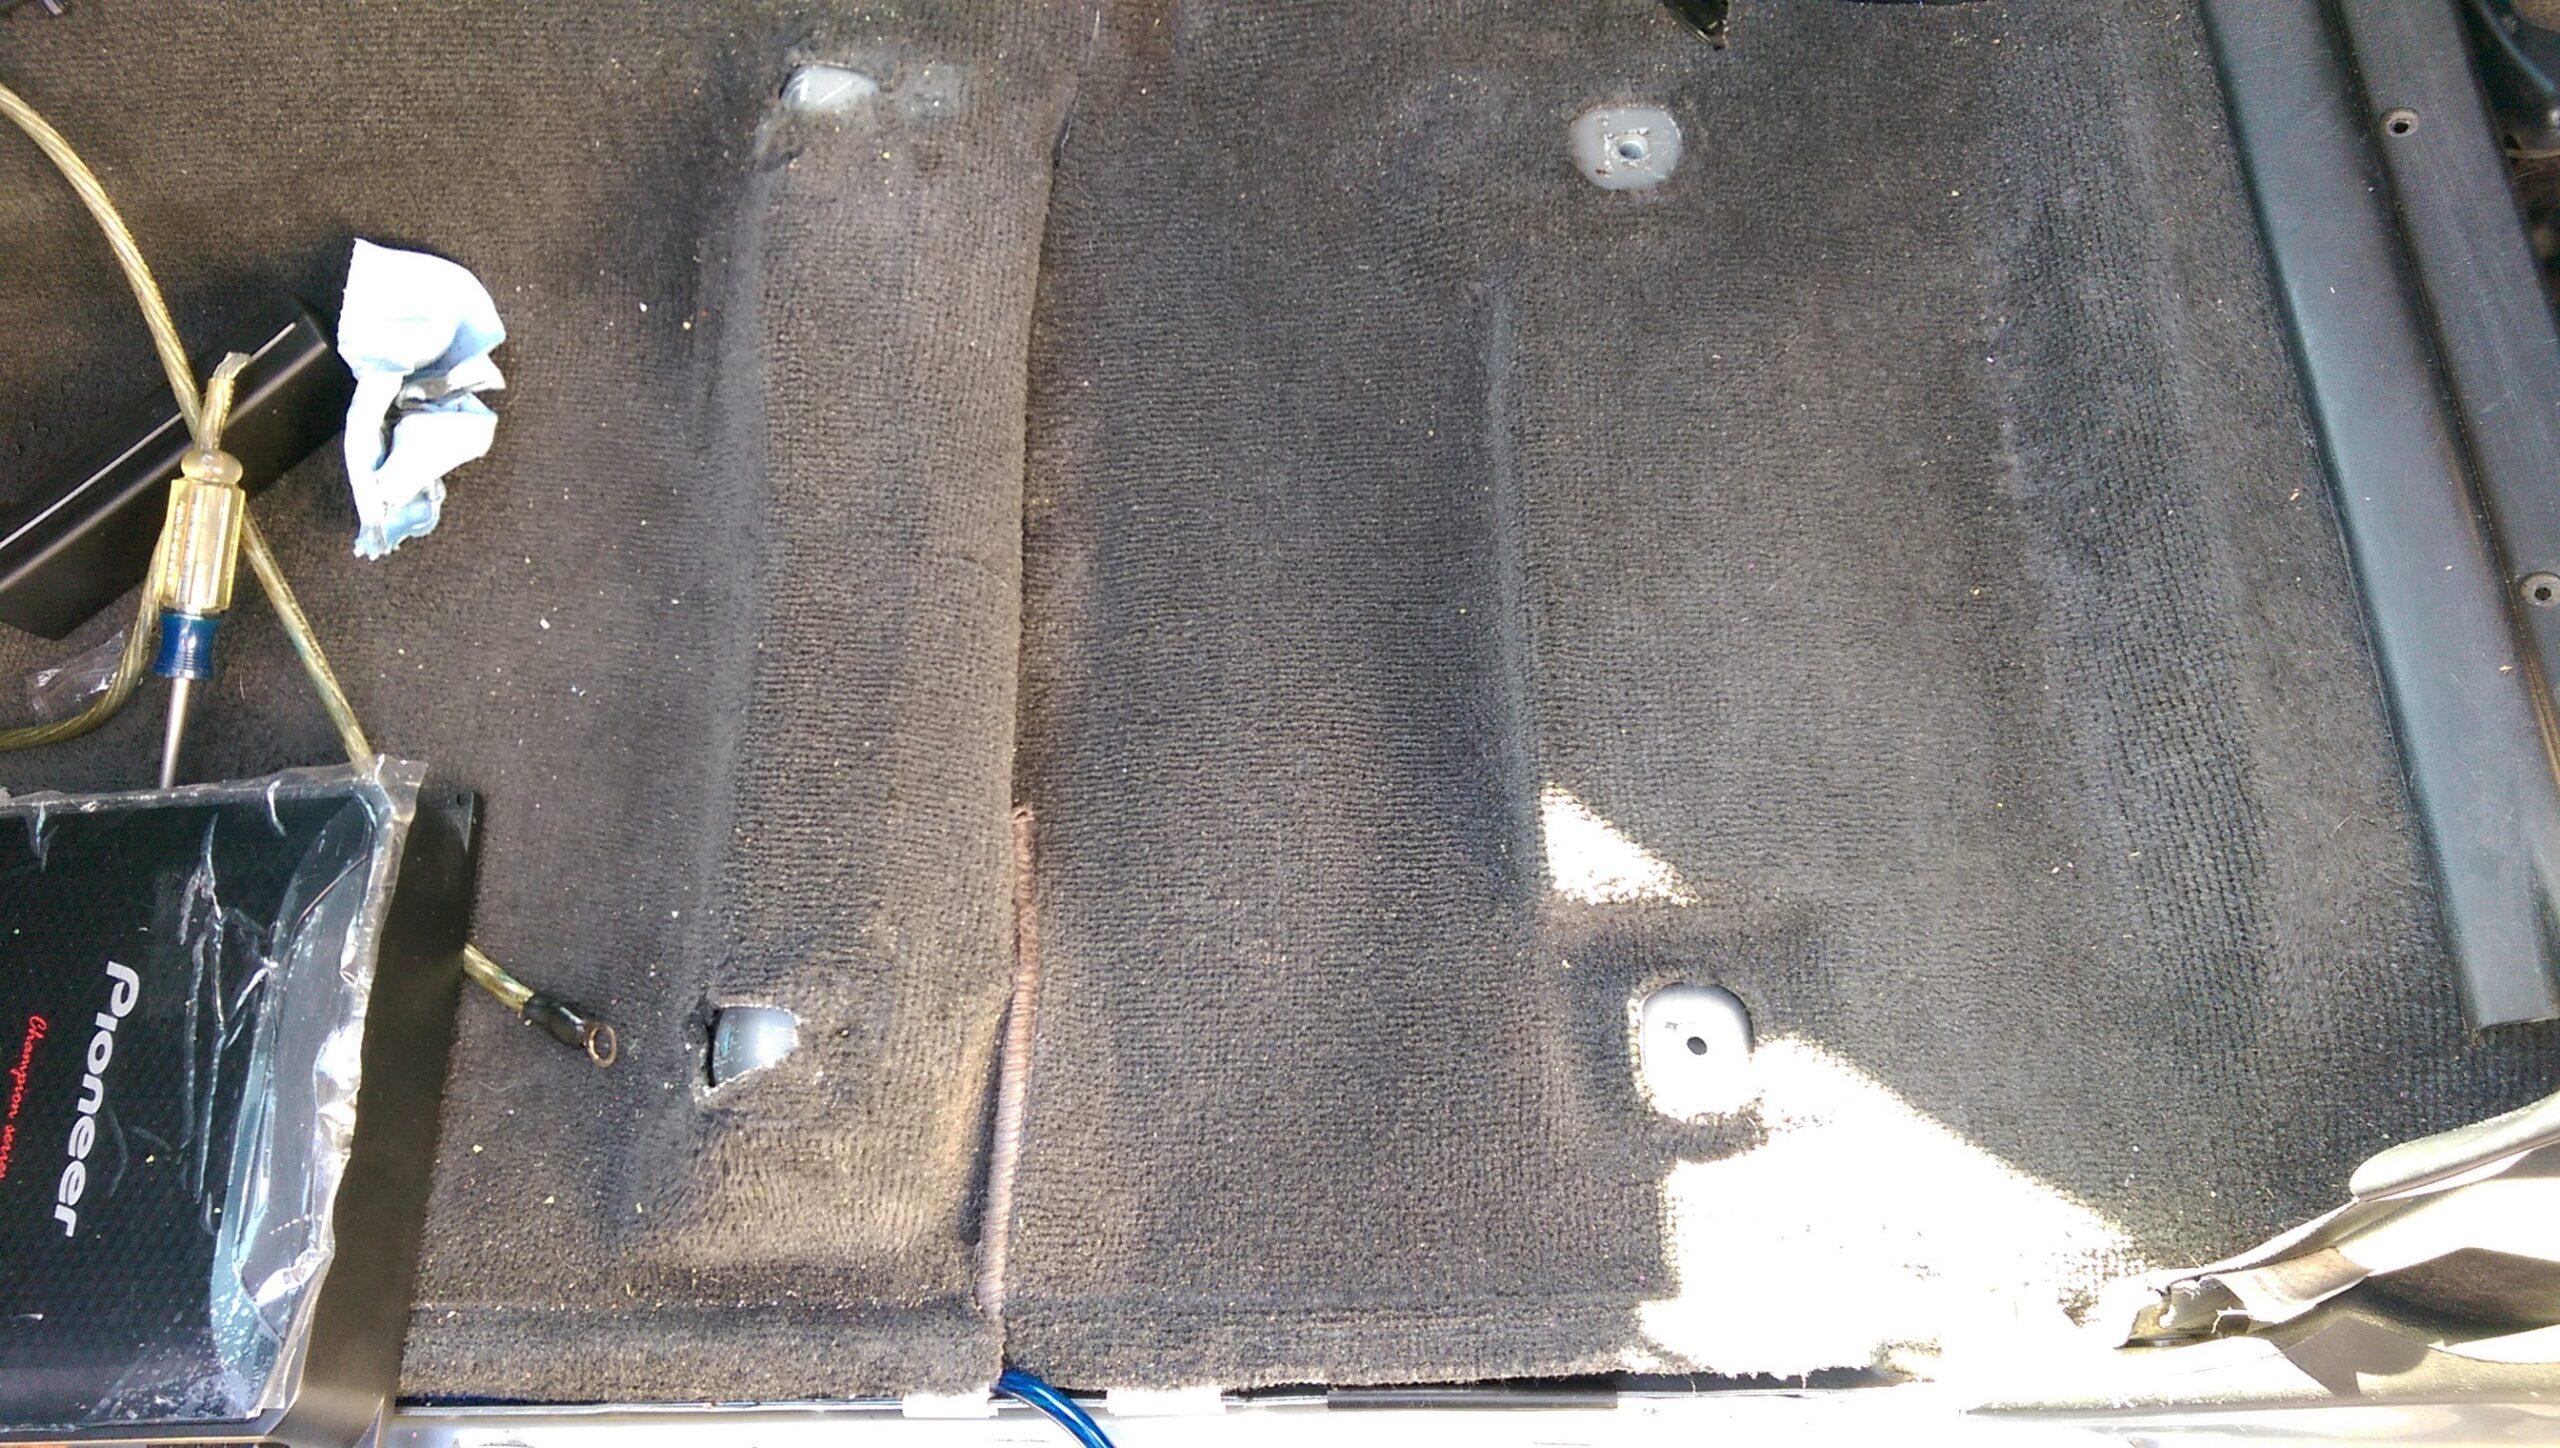 First thing was to remove the driver’s seat. Not too difficult, just four 14mm bolts to remove, slide the seat forward, lift and out. This then reveals the little space under the seat. Imagine what items you can find down there.
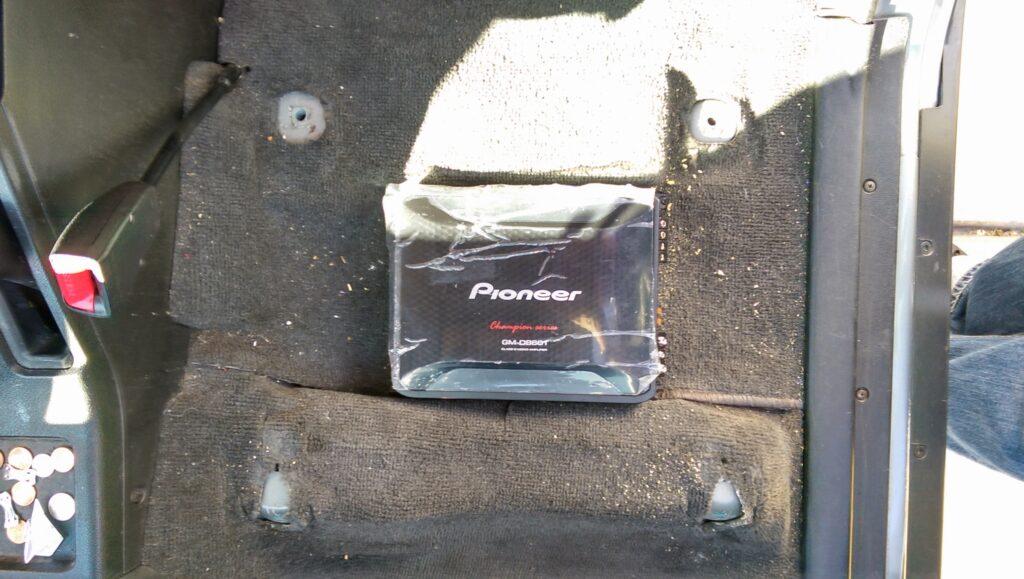
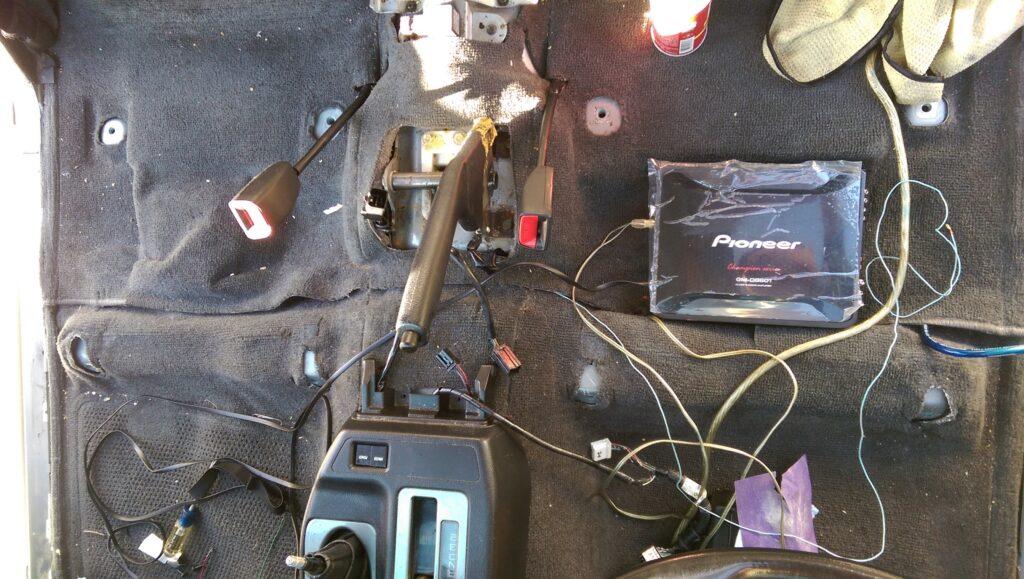
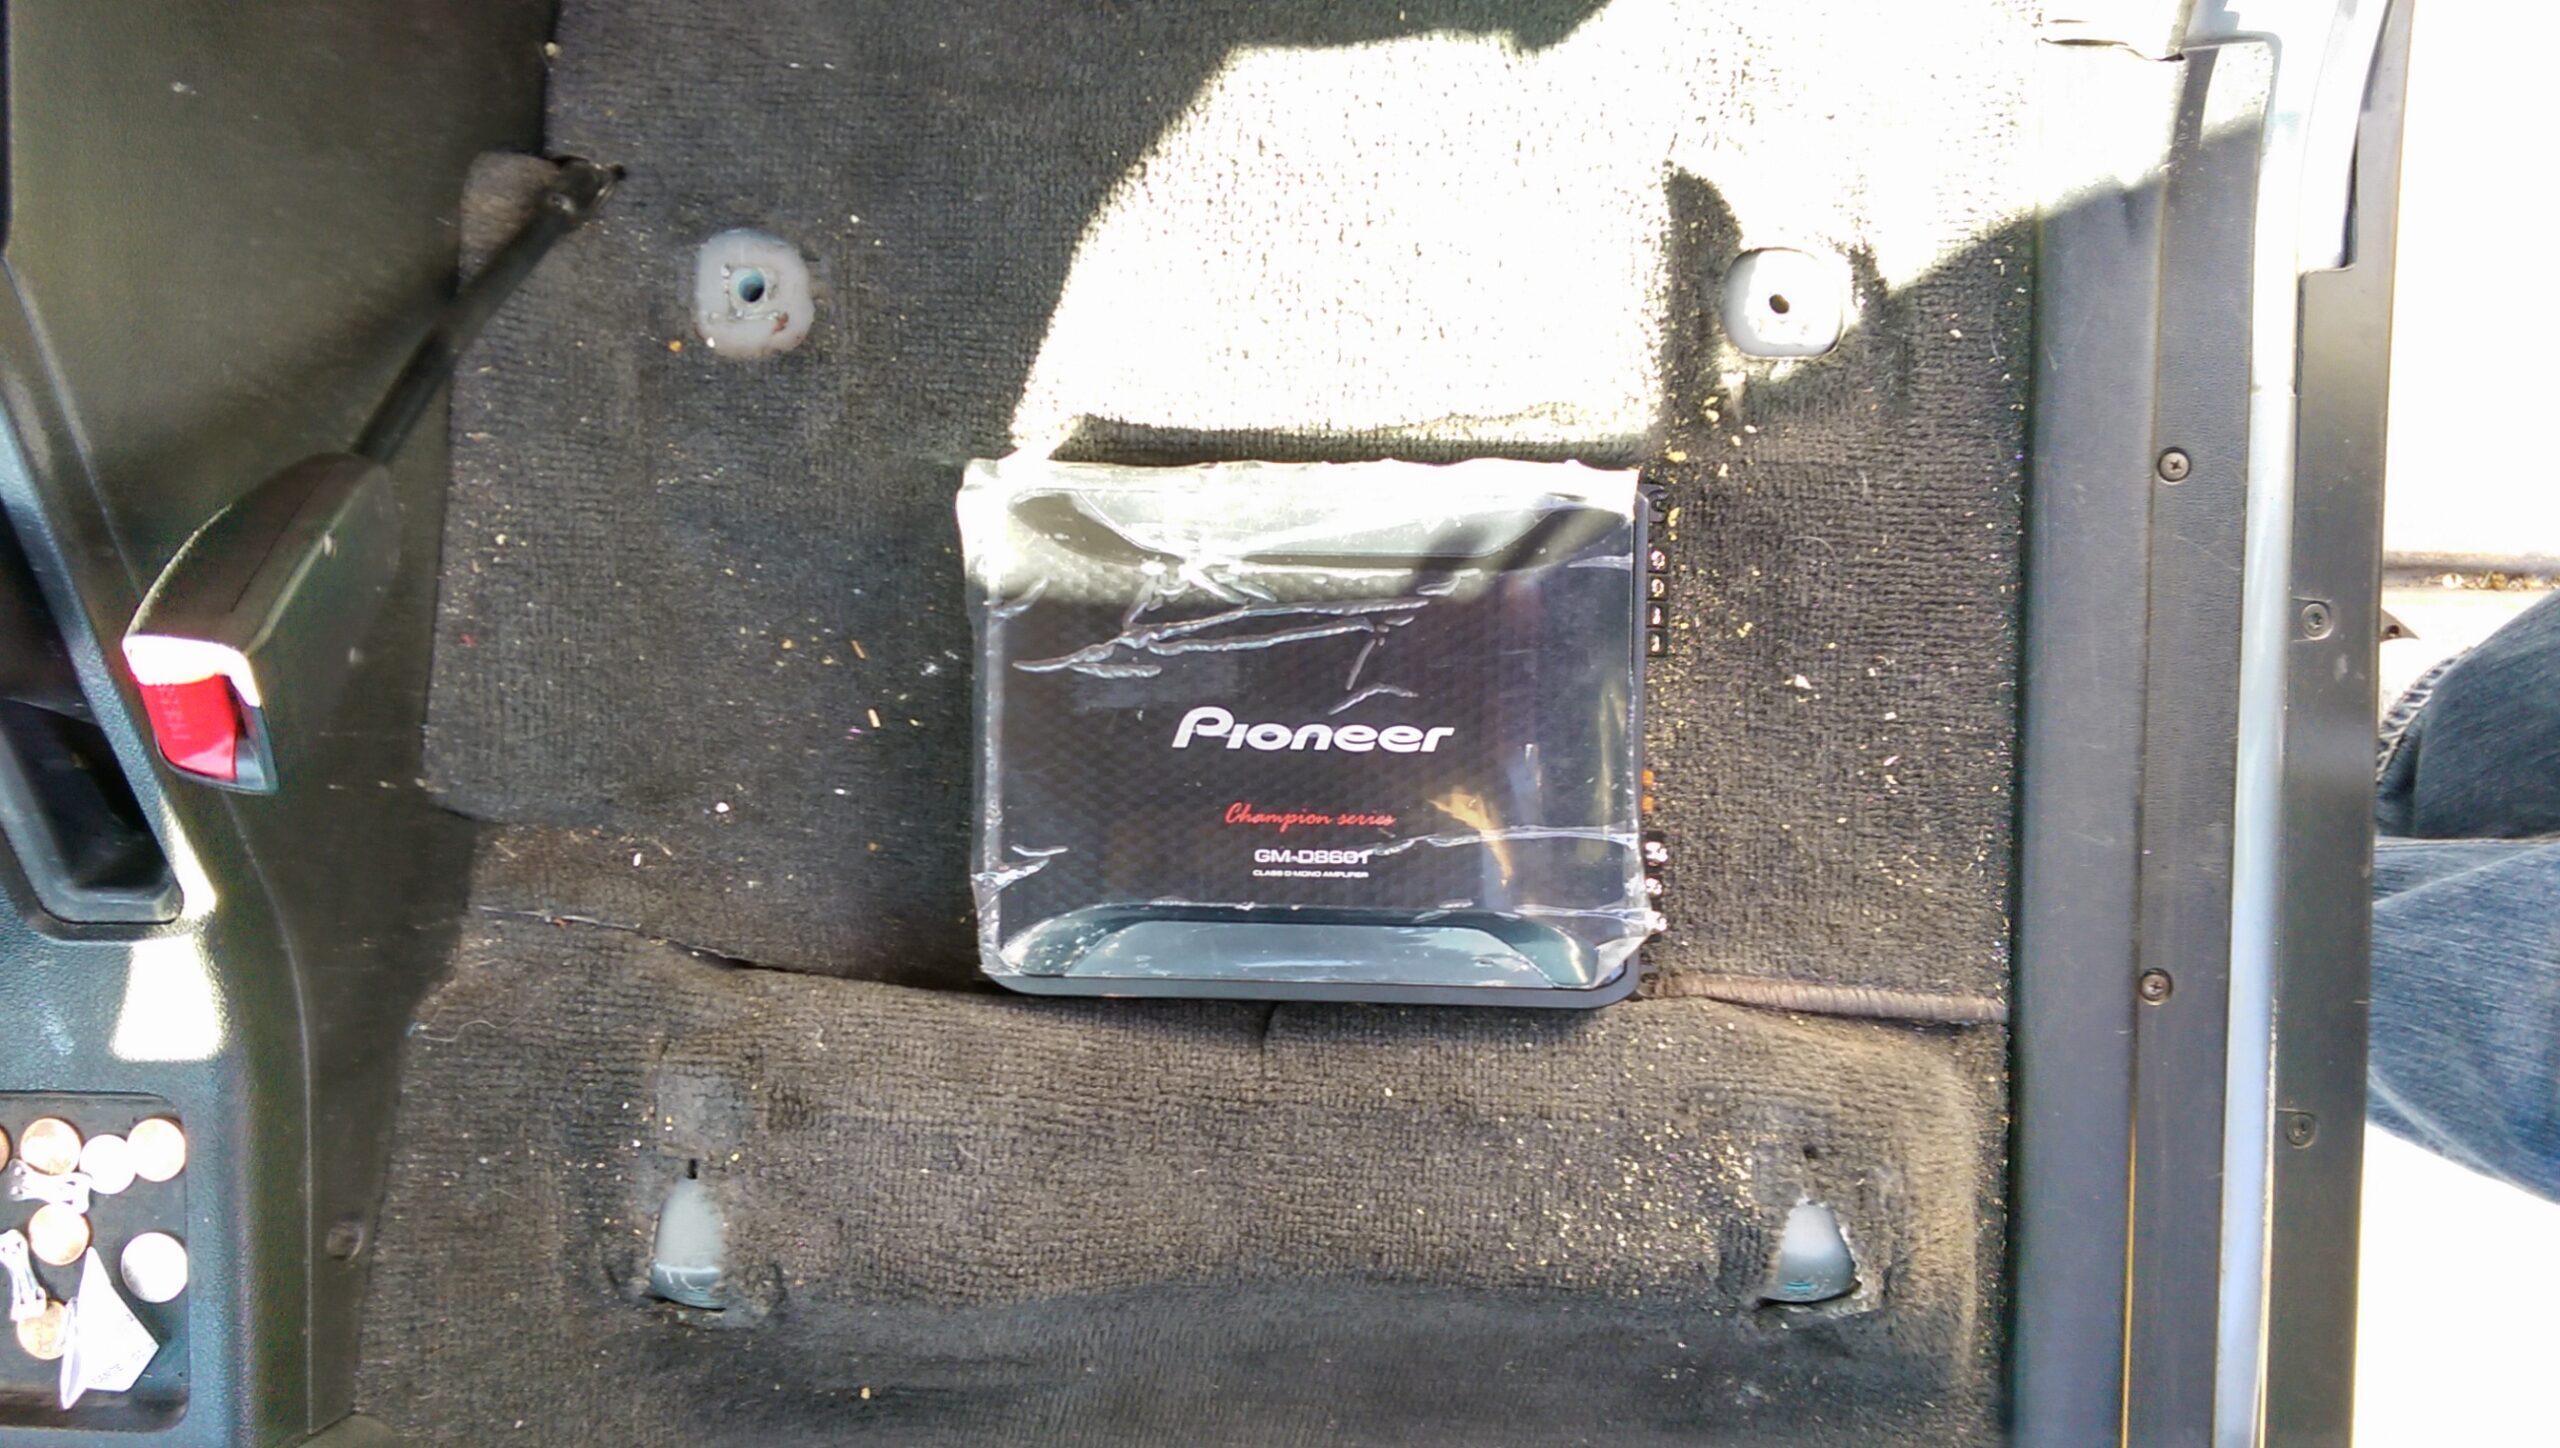 Next was to test fit the amplifier, as mentioned earlier, I was lucky that it fit just right! I’m using the Pioneer GM-D8601 Class D Mono Amplifier with Wired Bass Boost RemoteAmazon. Just right for my install.
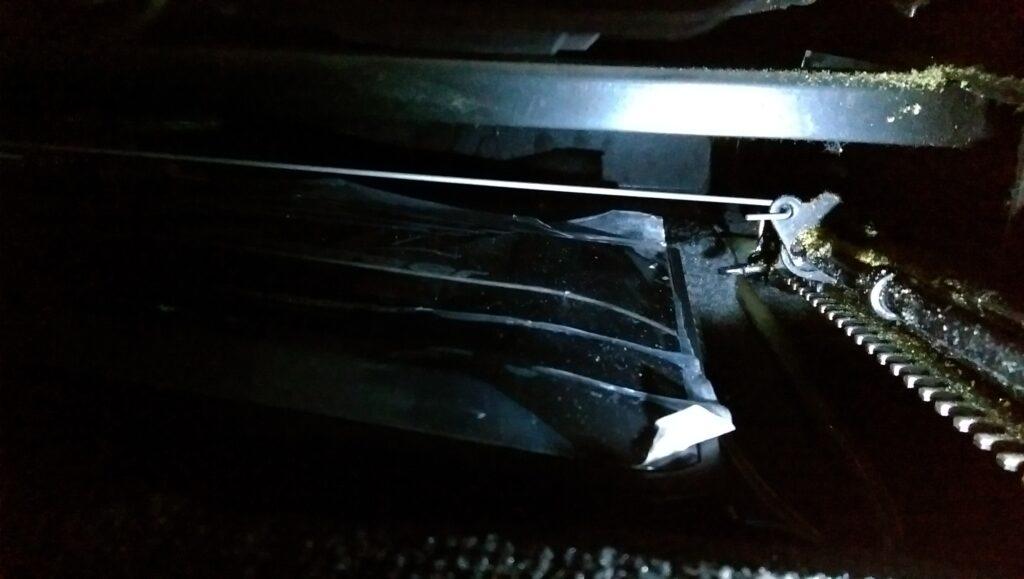
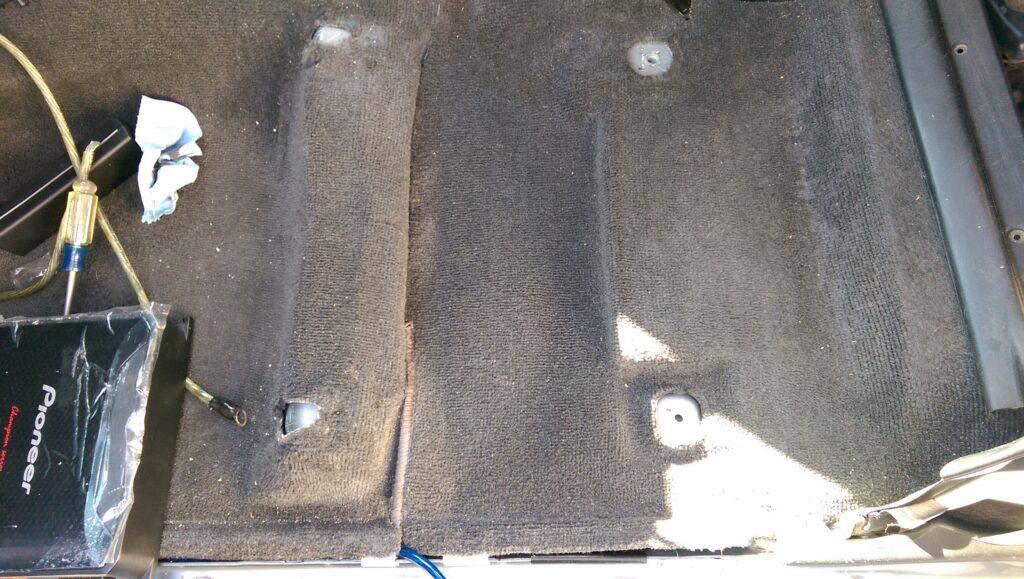
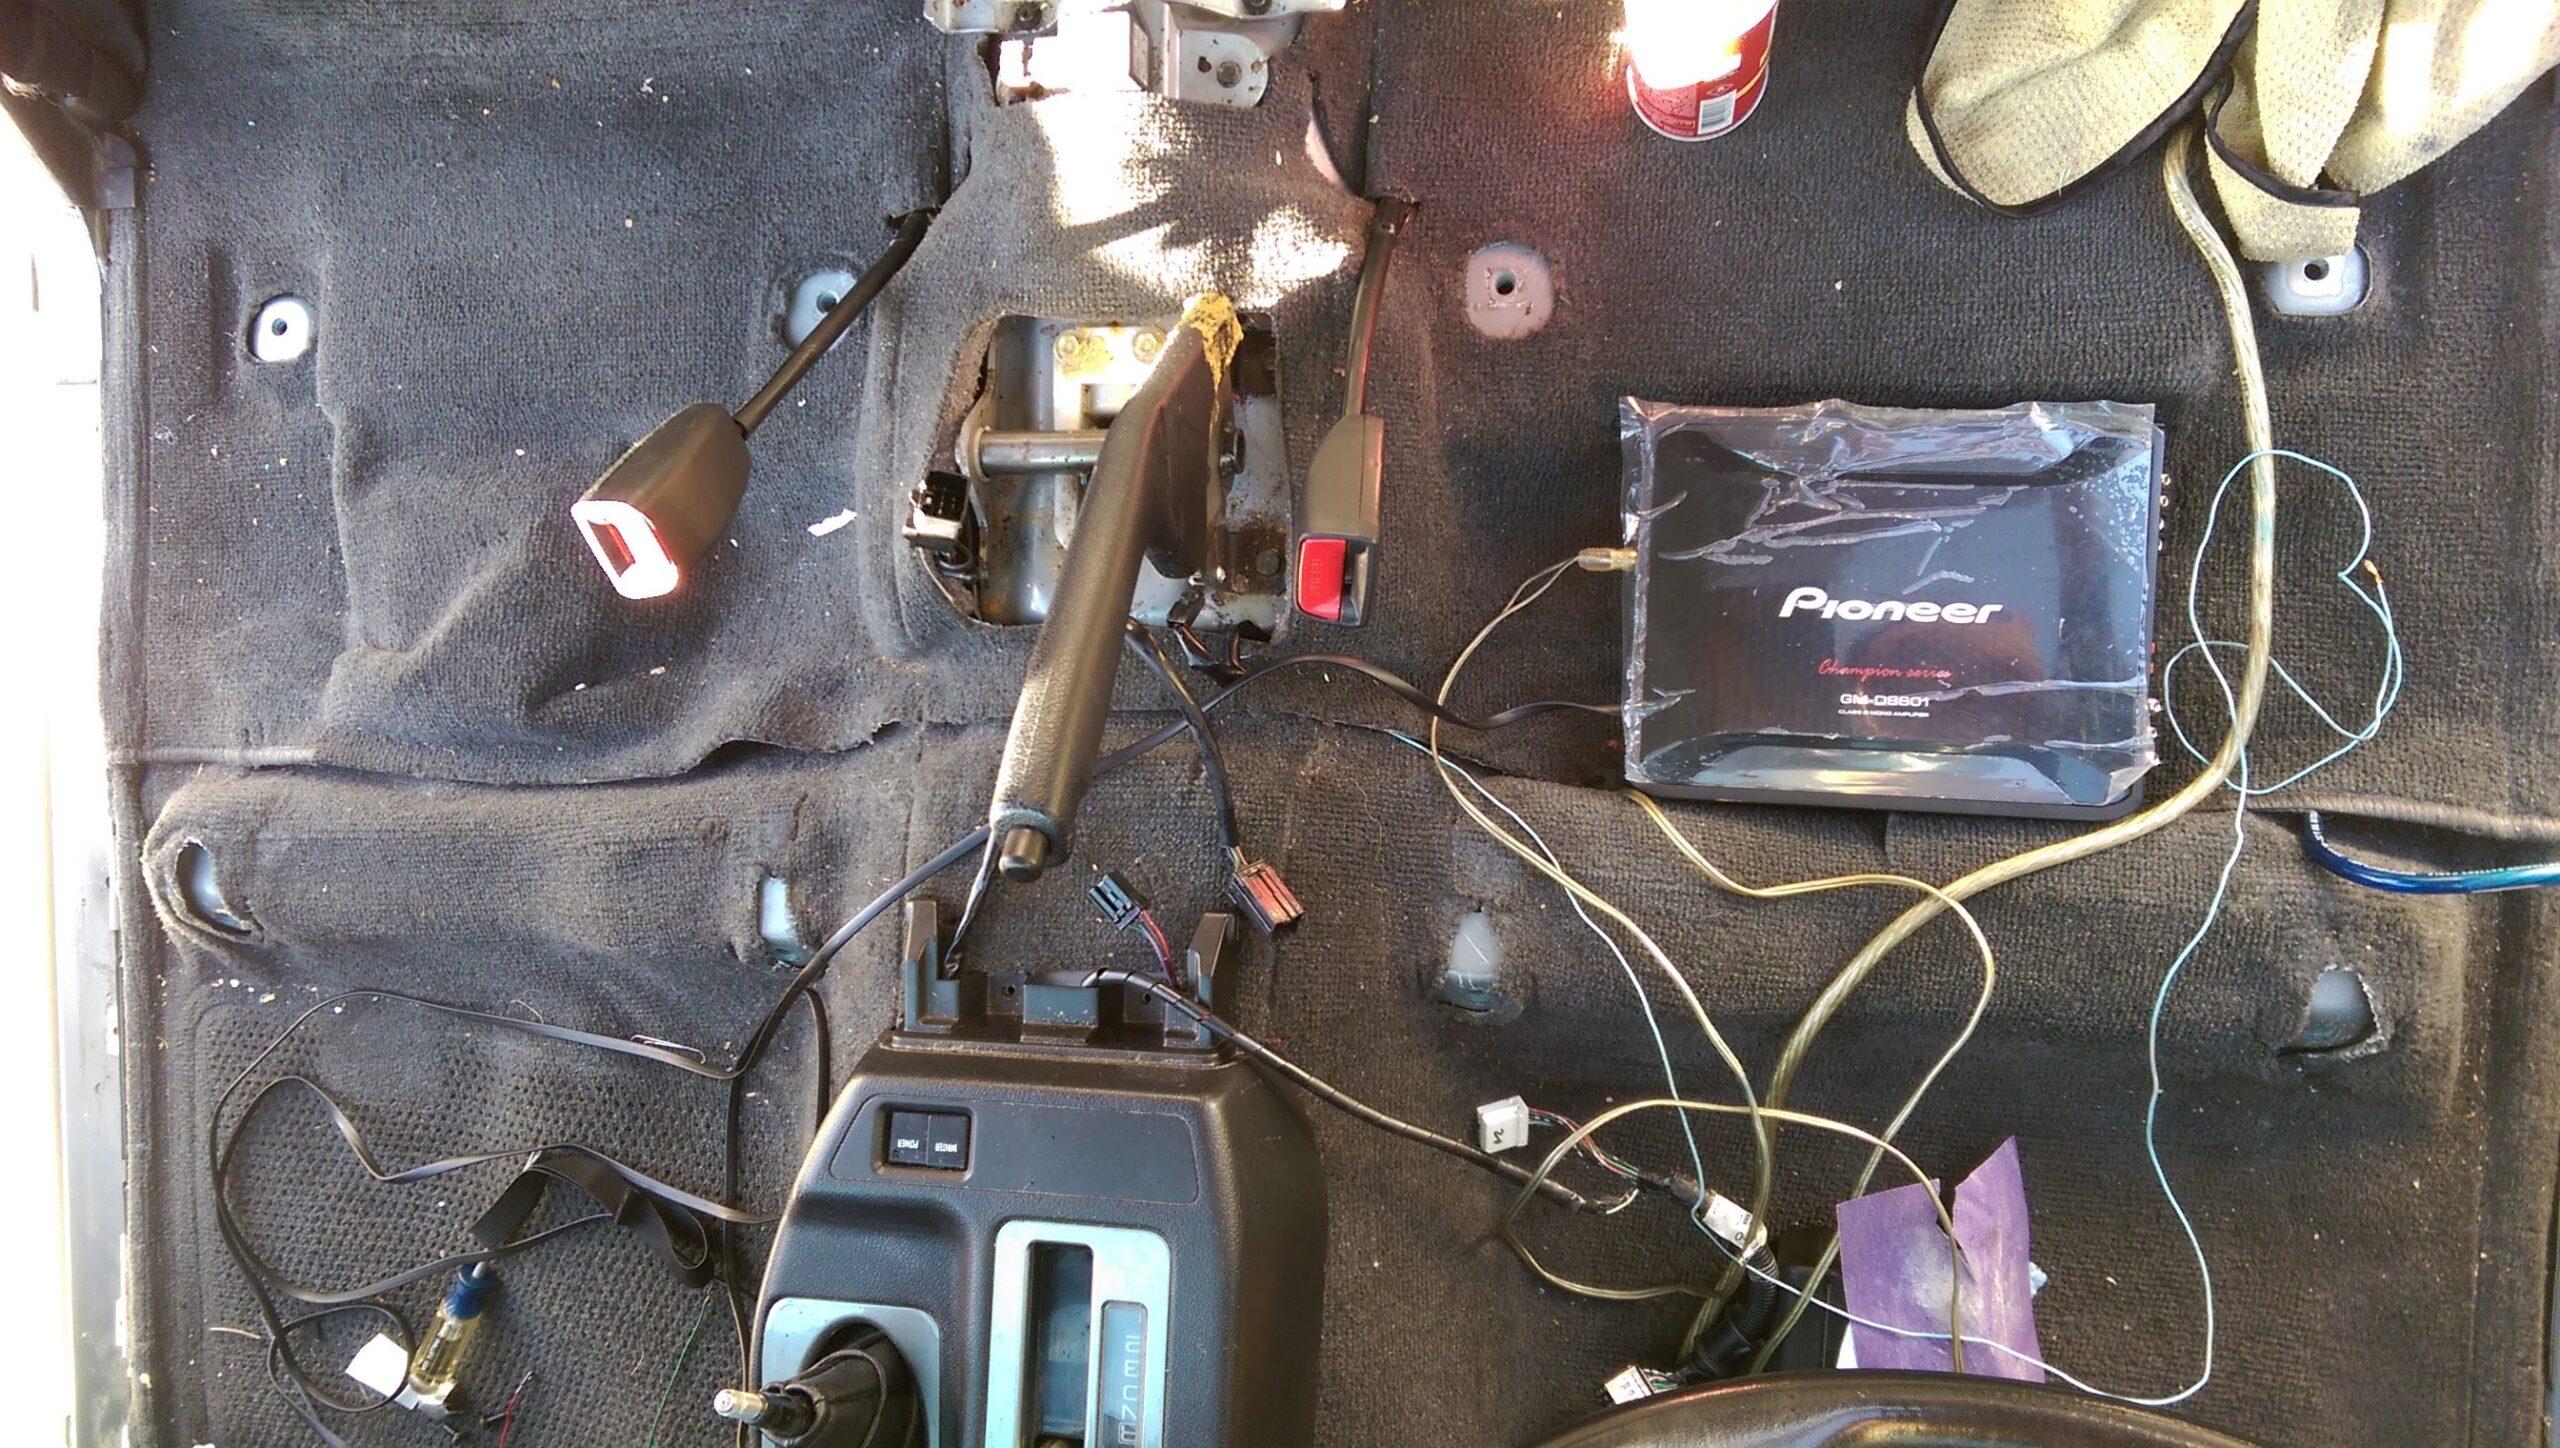 I then had to pull all the wires that led to the trunk and rewire them under the carpet. There was a convenient separation of the carpets under the seats that made it easy to run the wires and cables. I had originally ran the RCA cable on the passenger side and the power cable on the driver’s side. So I went ahead and removed the passenger seat to make it easy to run the wires to the amp.
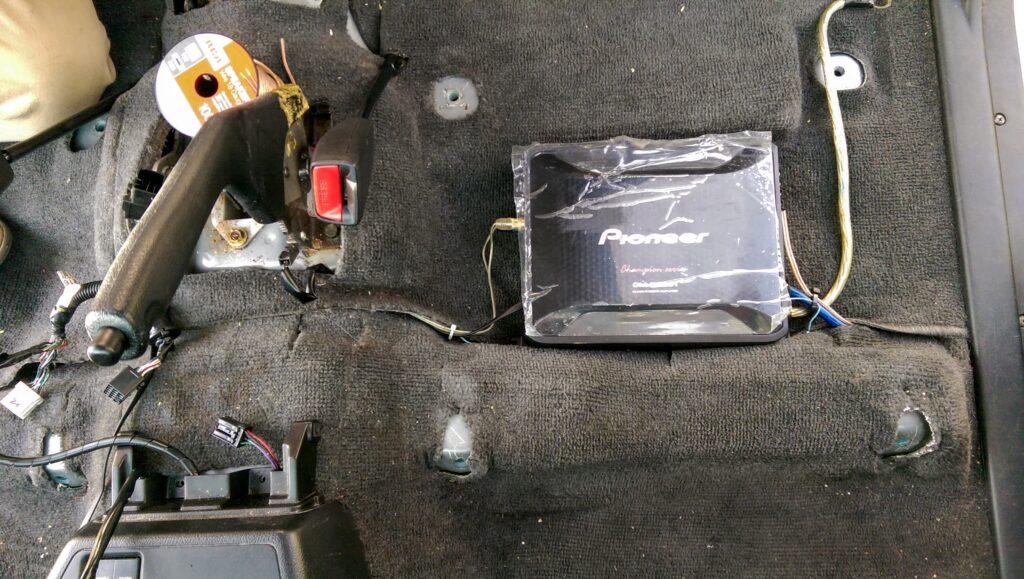
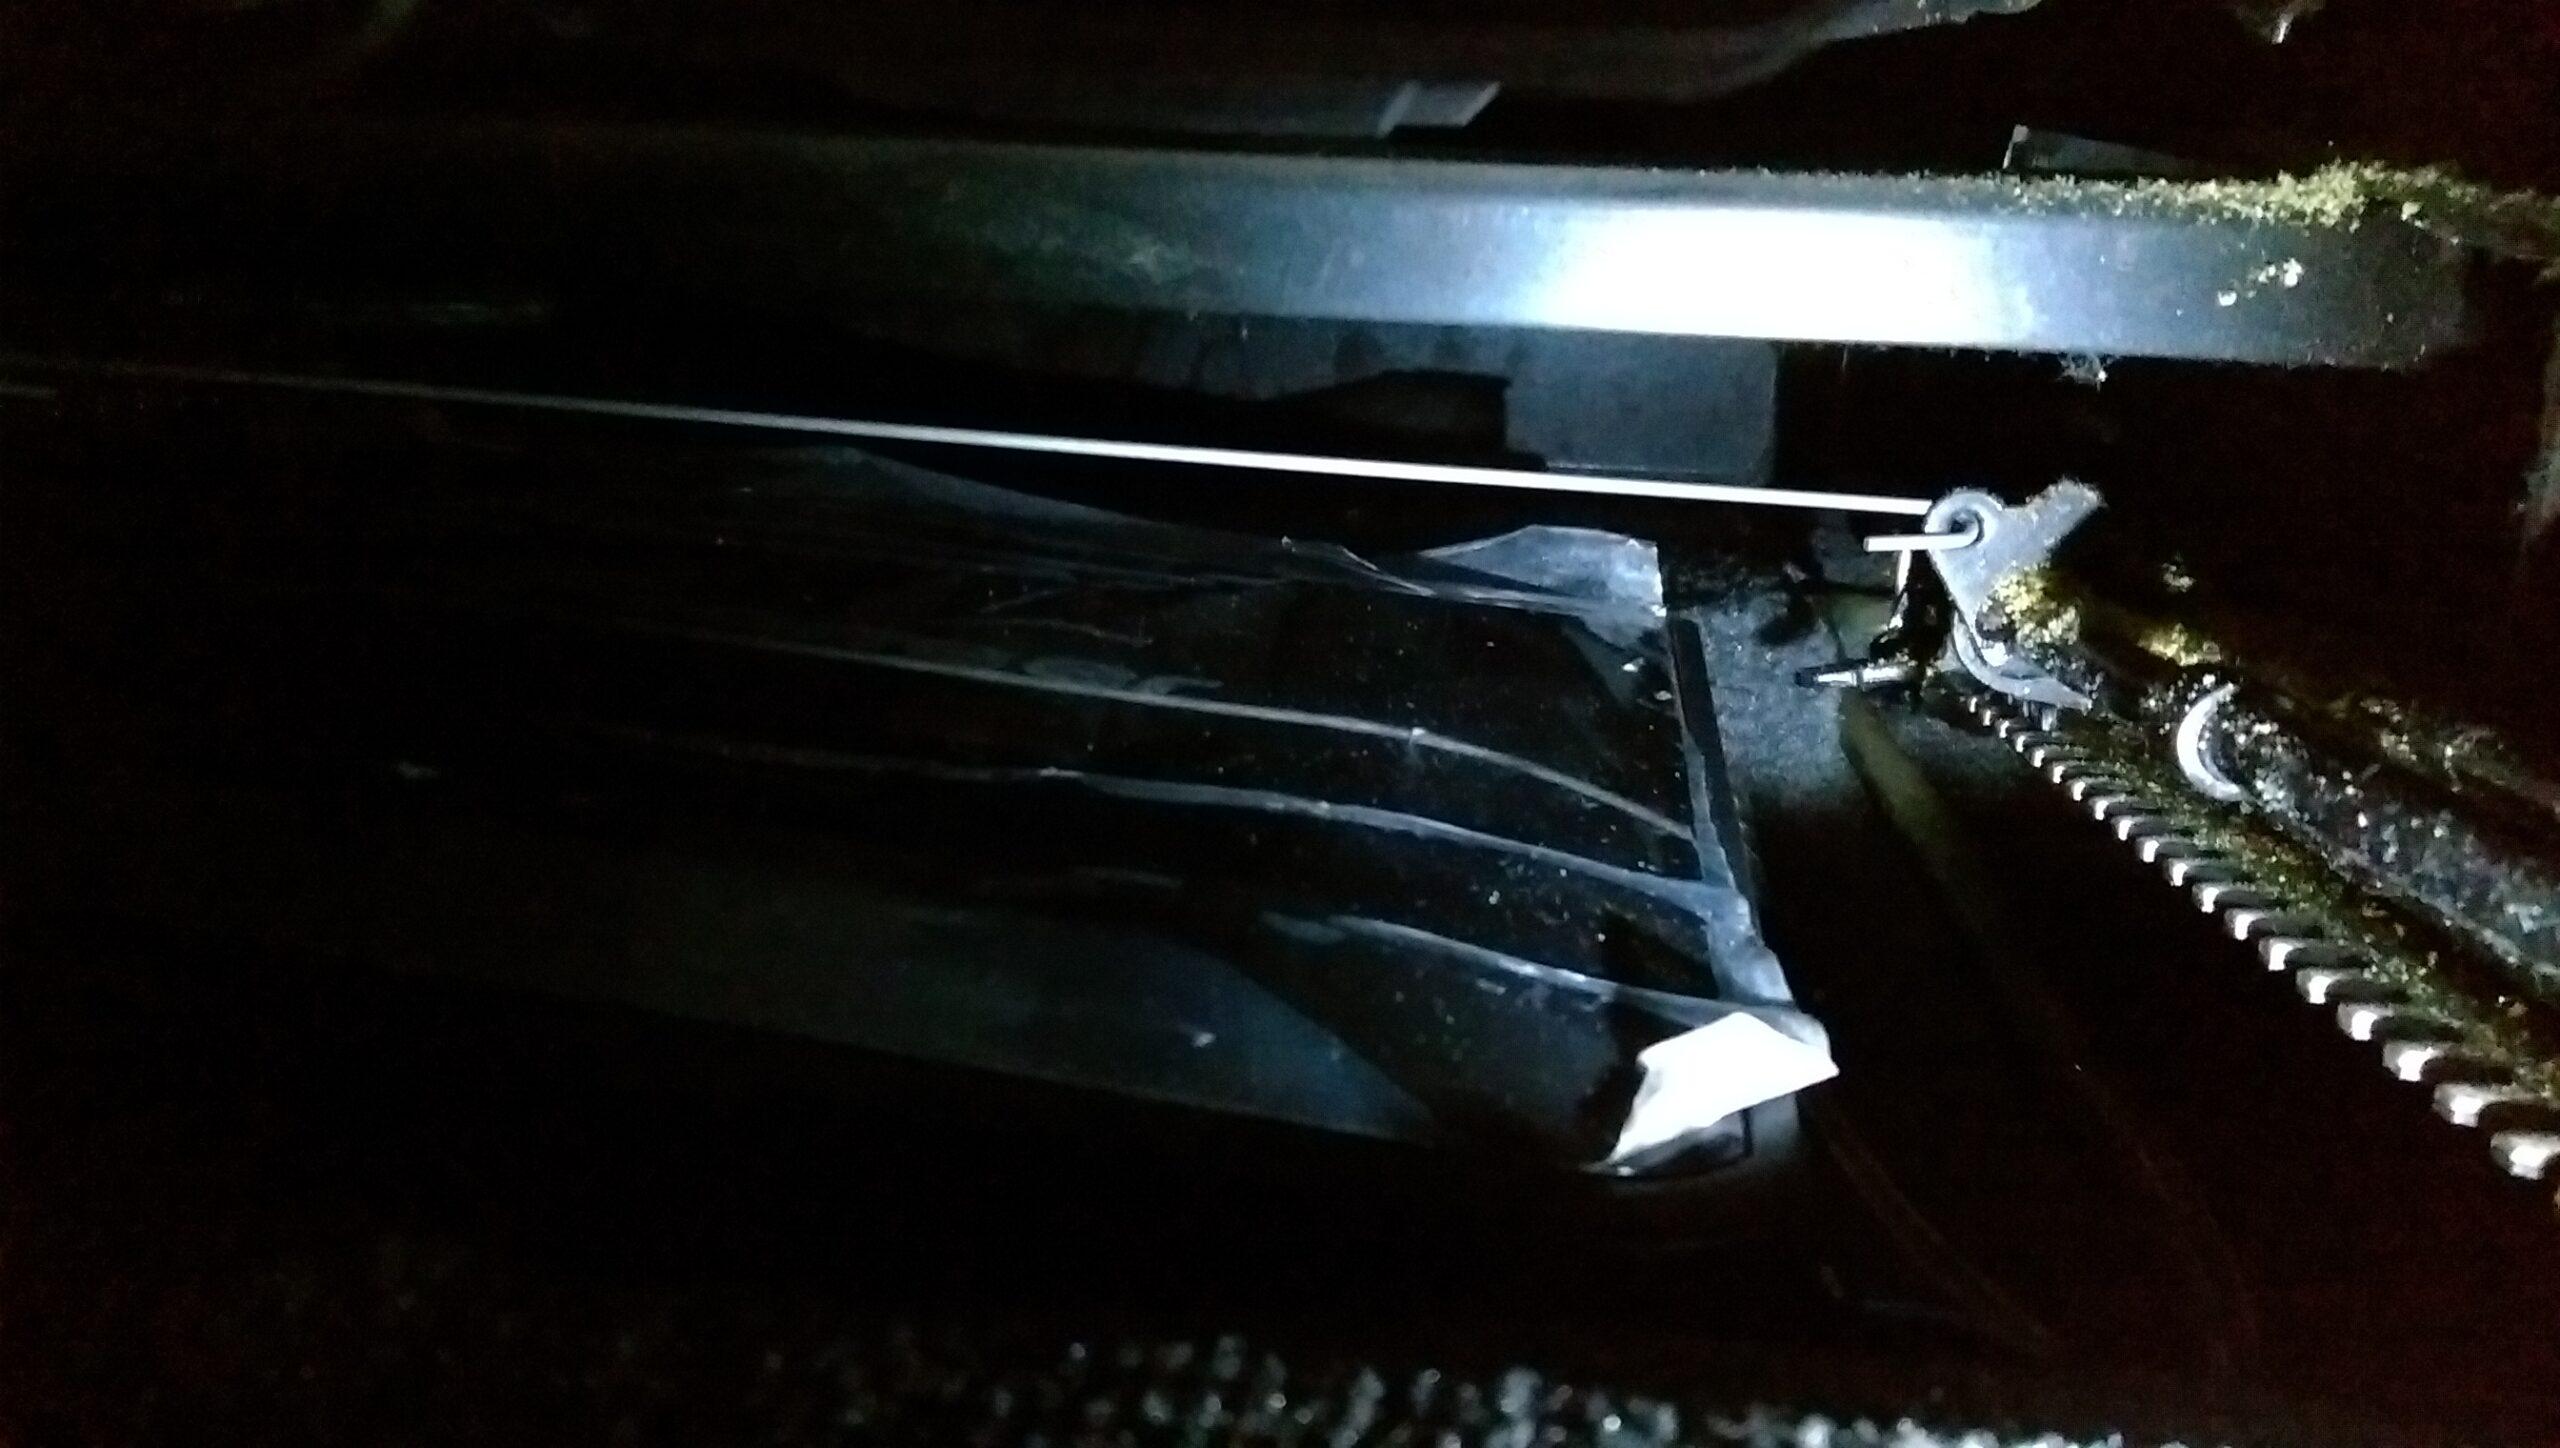
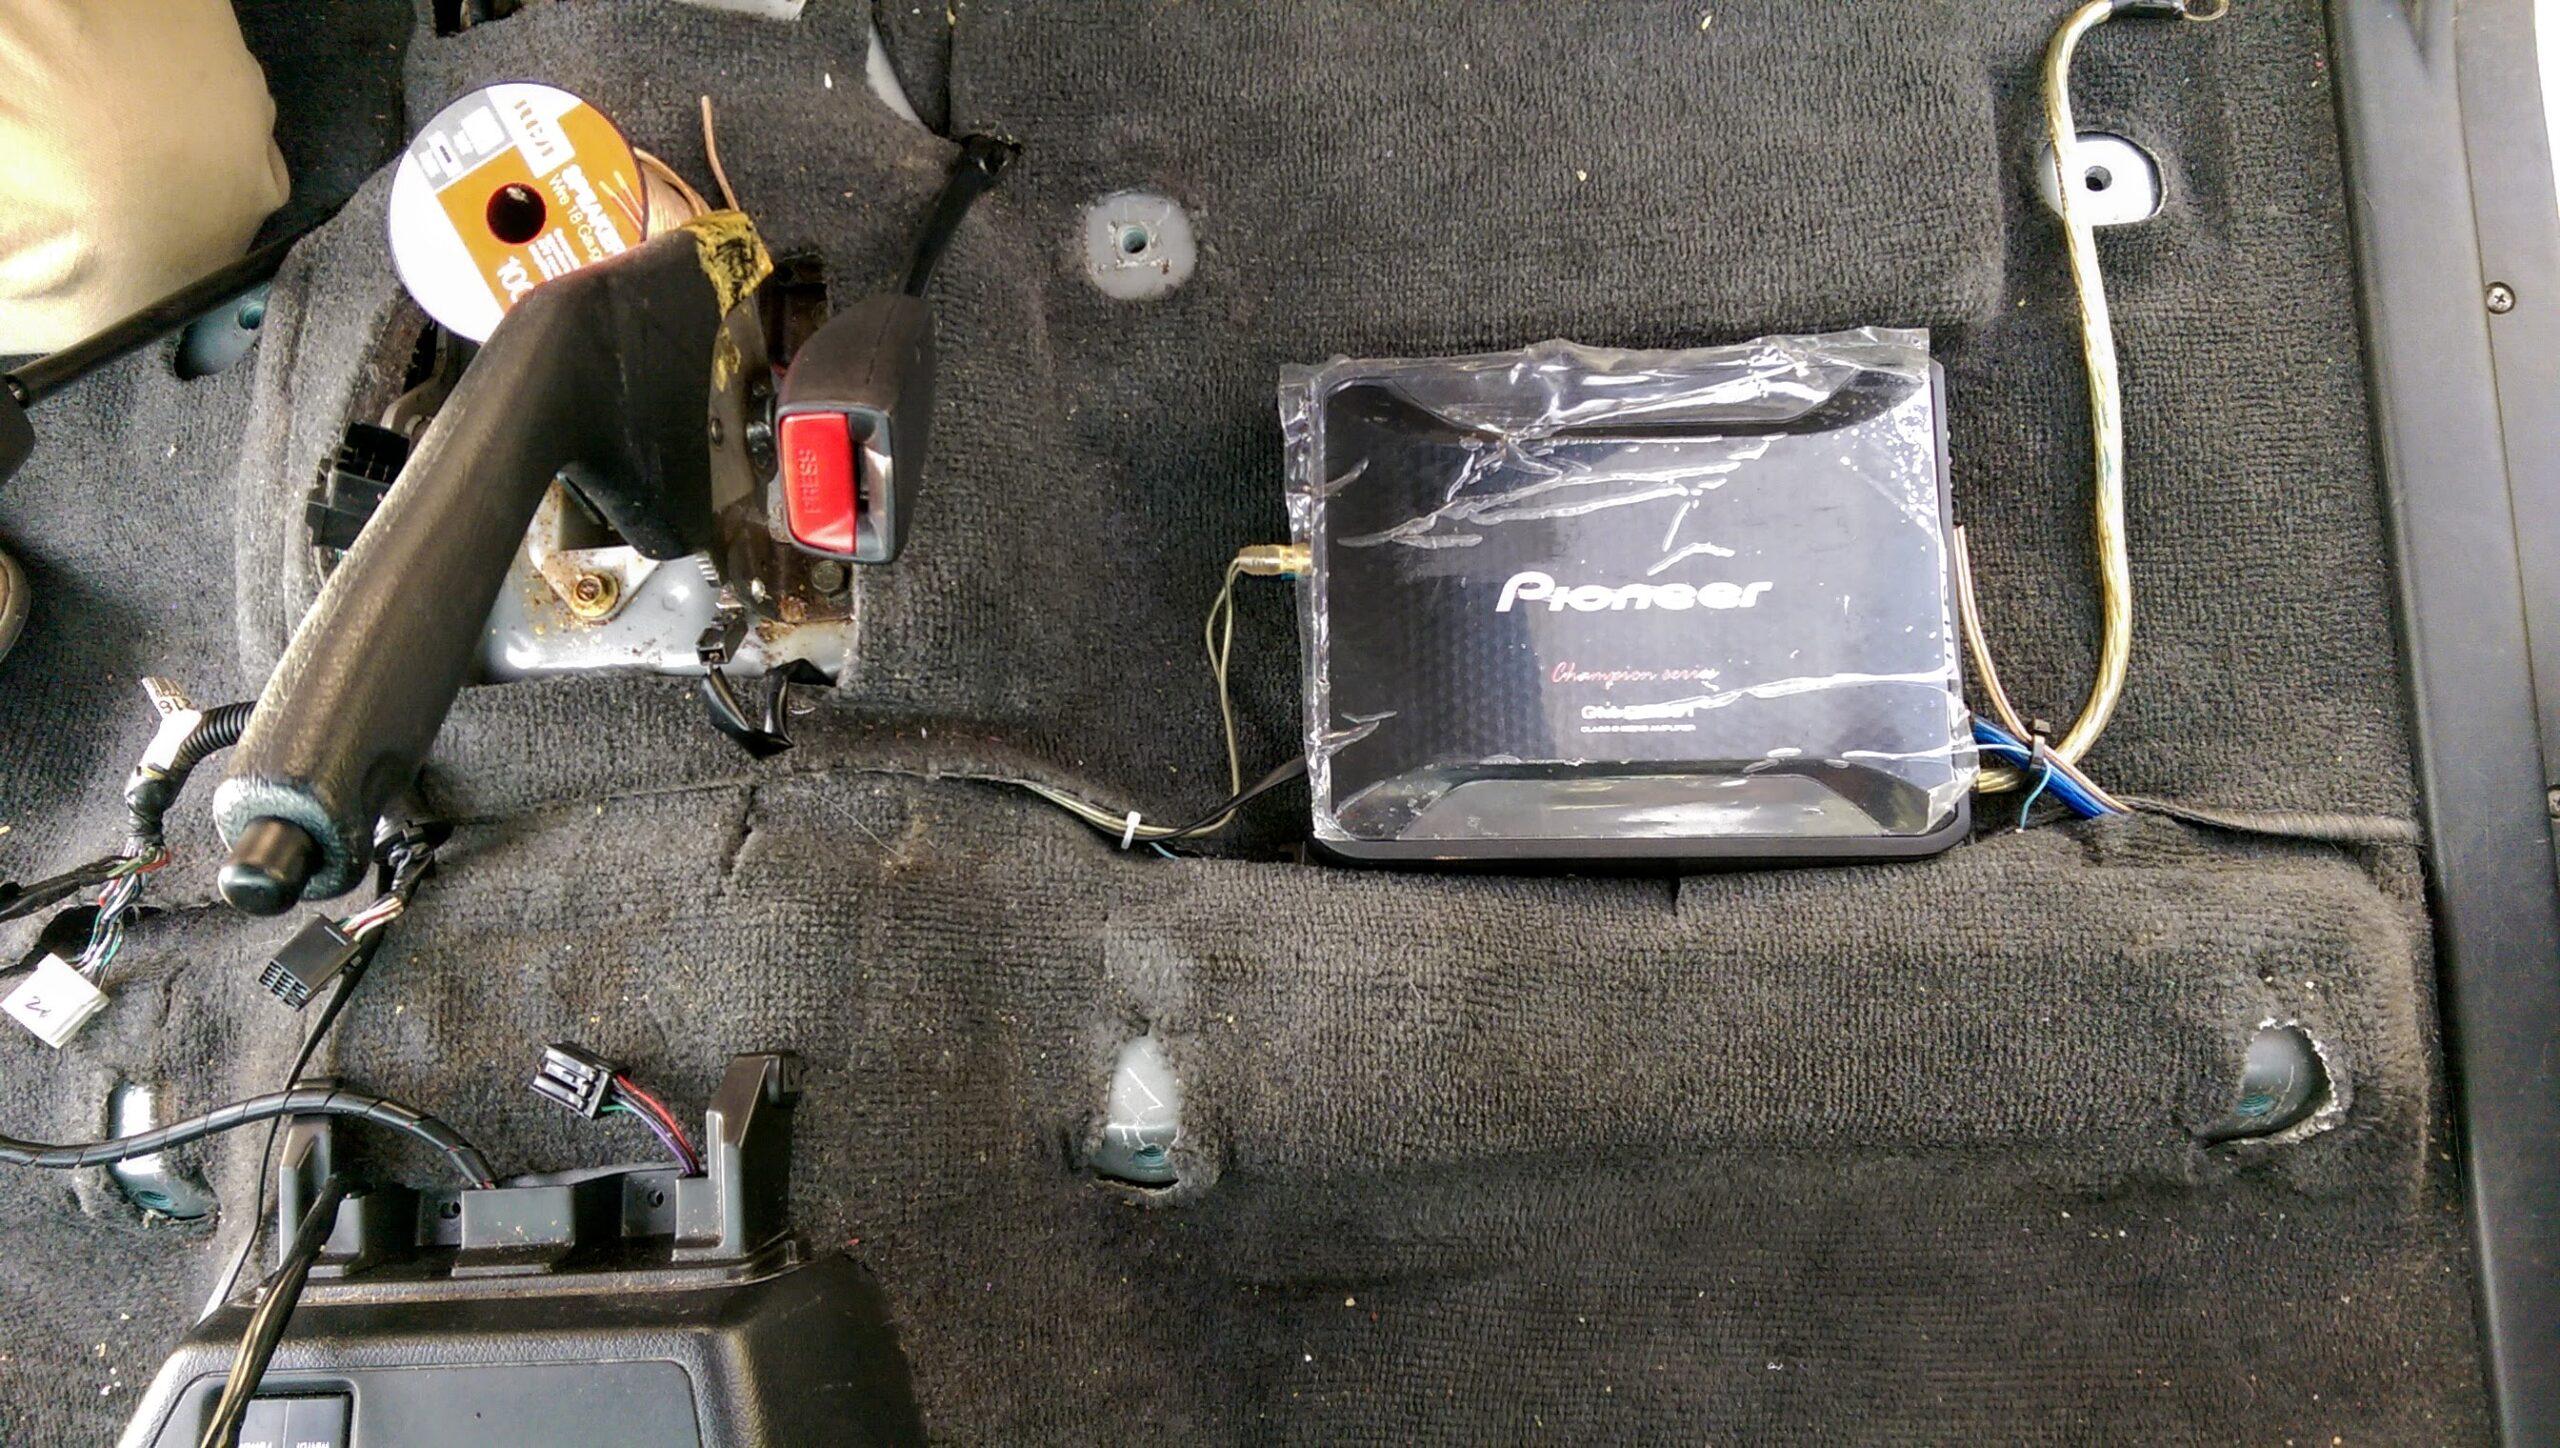 After all the wires shortened, zip tied and tucked.
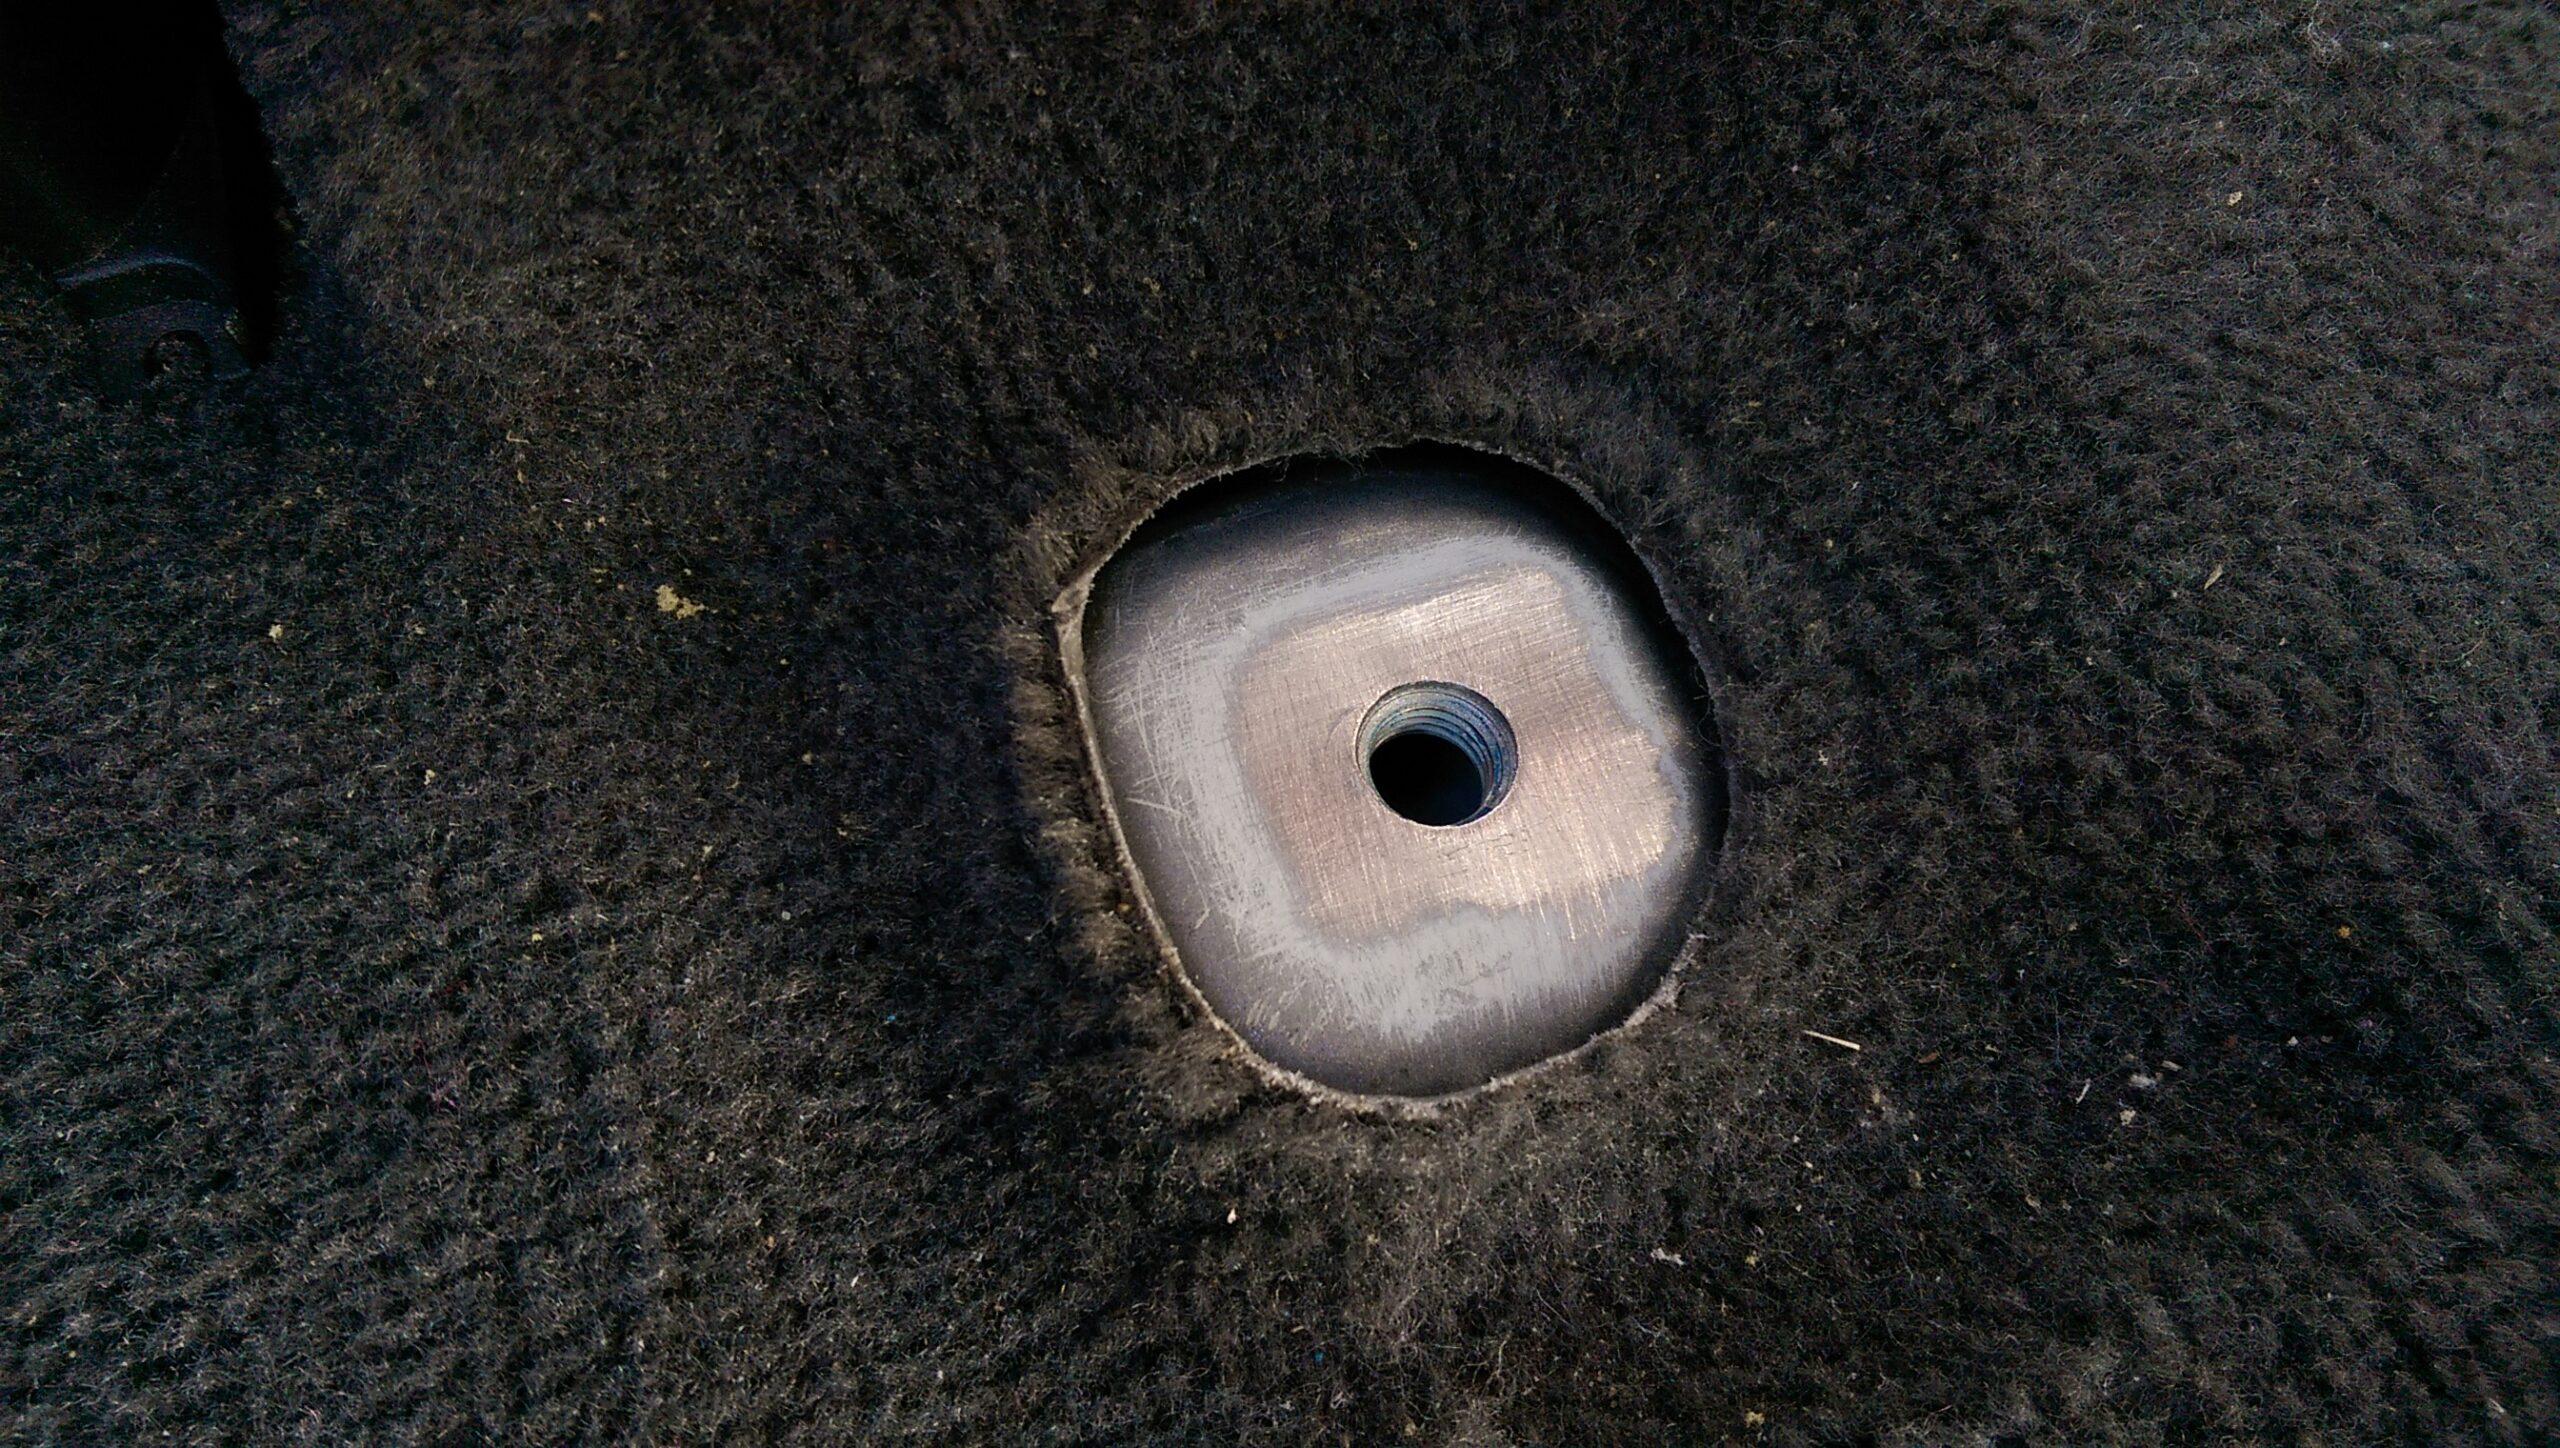 I had to relocate my ground wire as well, so I decided to use one of the rear bolt holes for this. I sanded down the paint around the hole as well as the seat bracket.

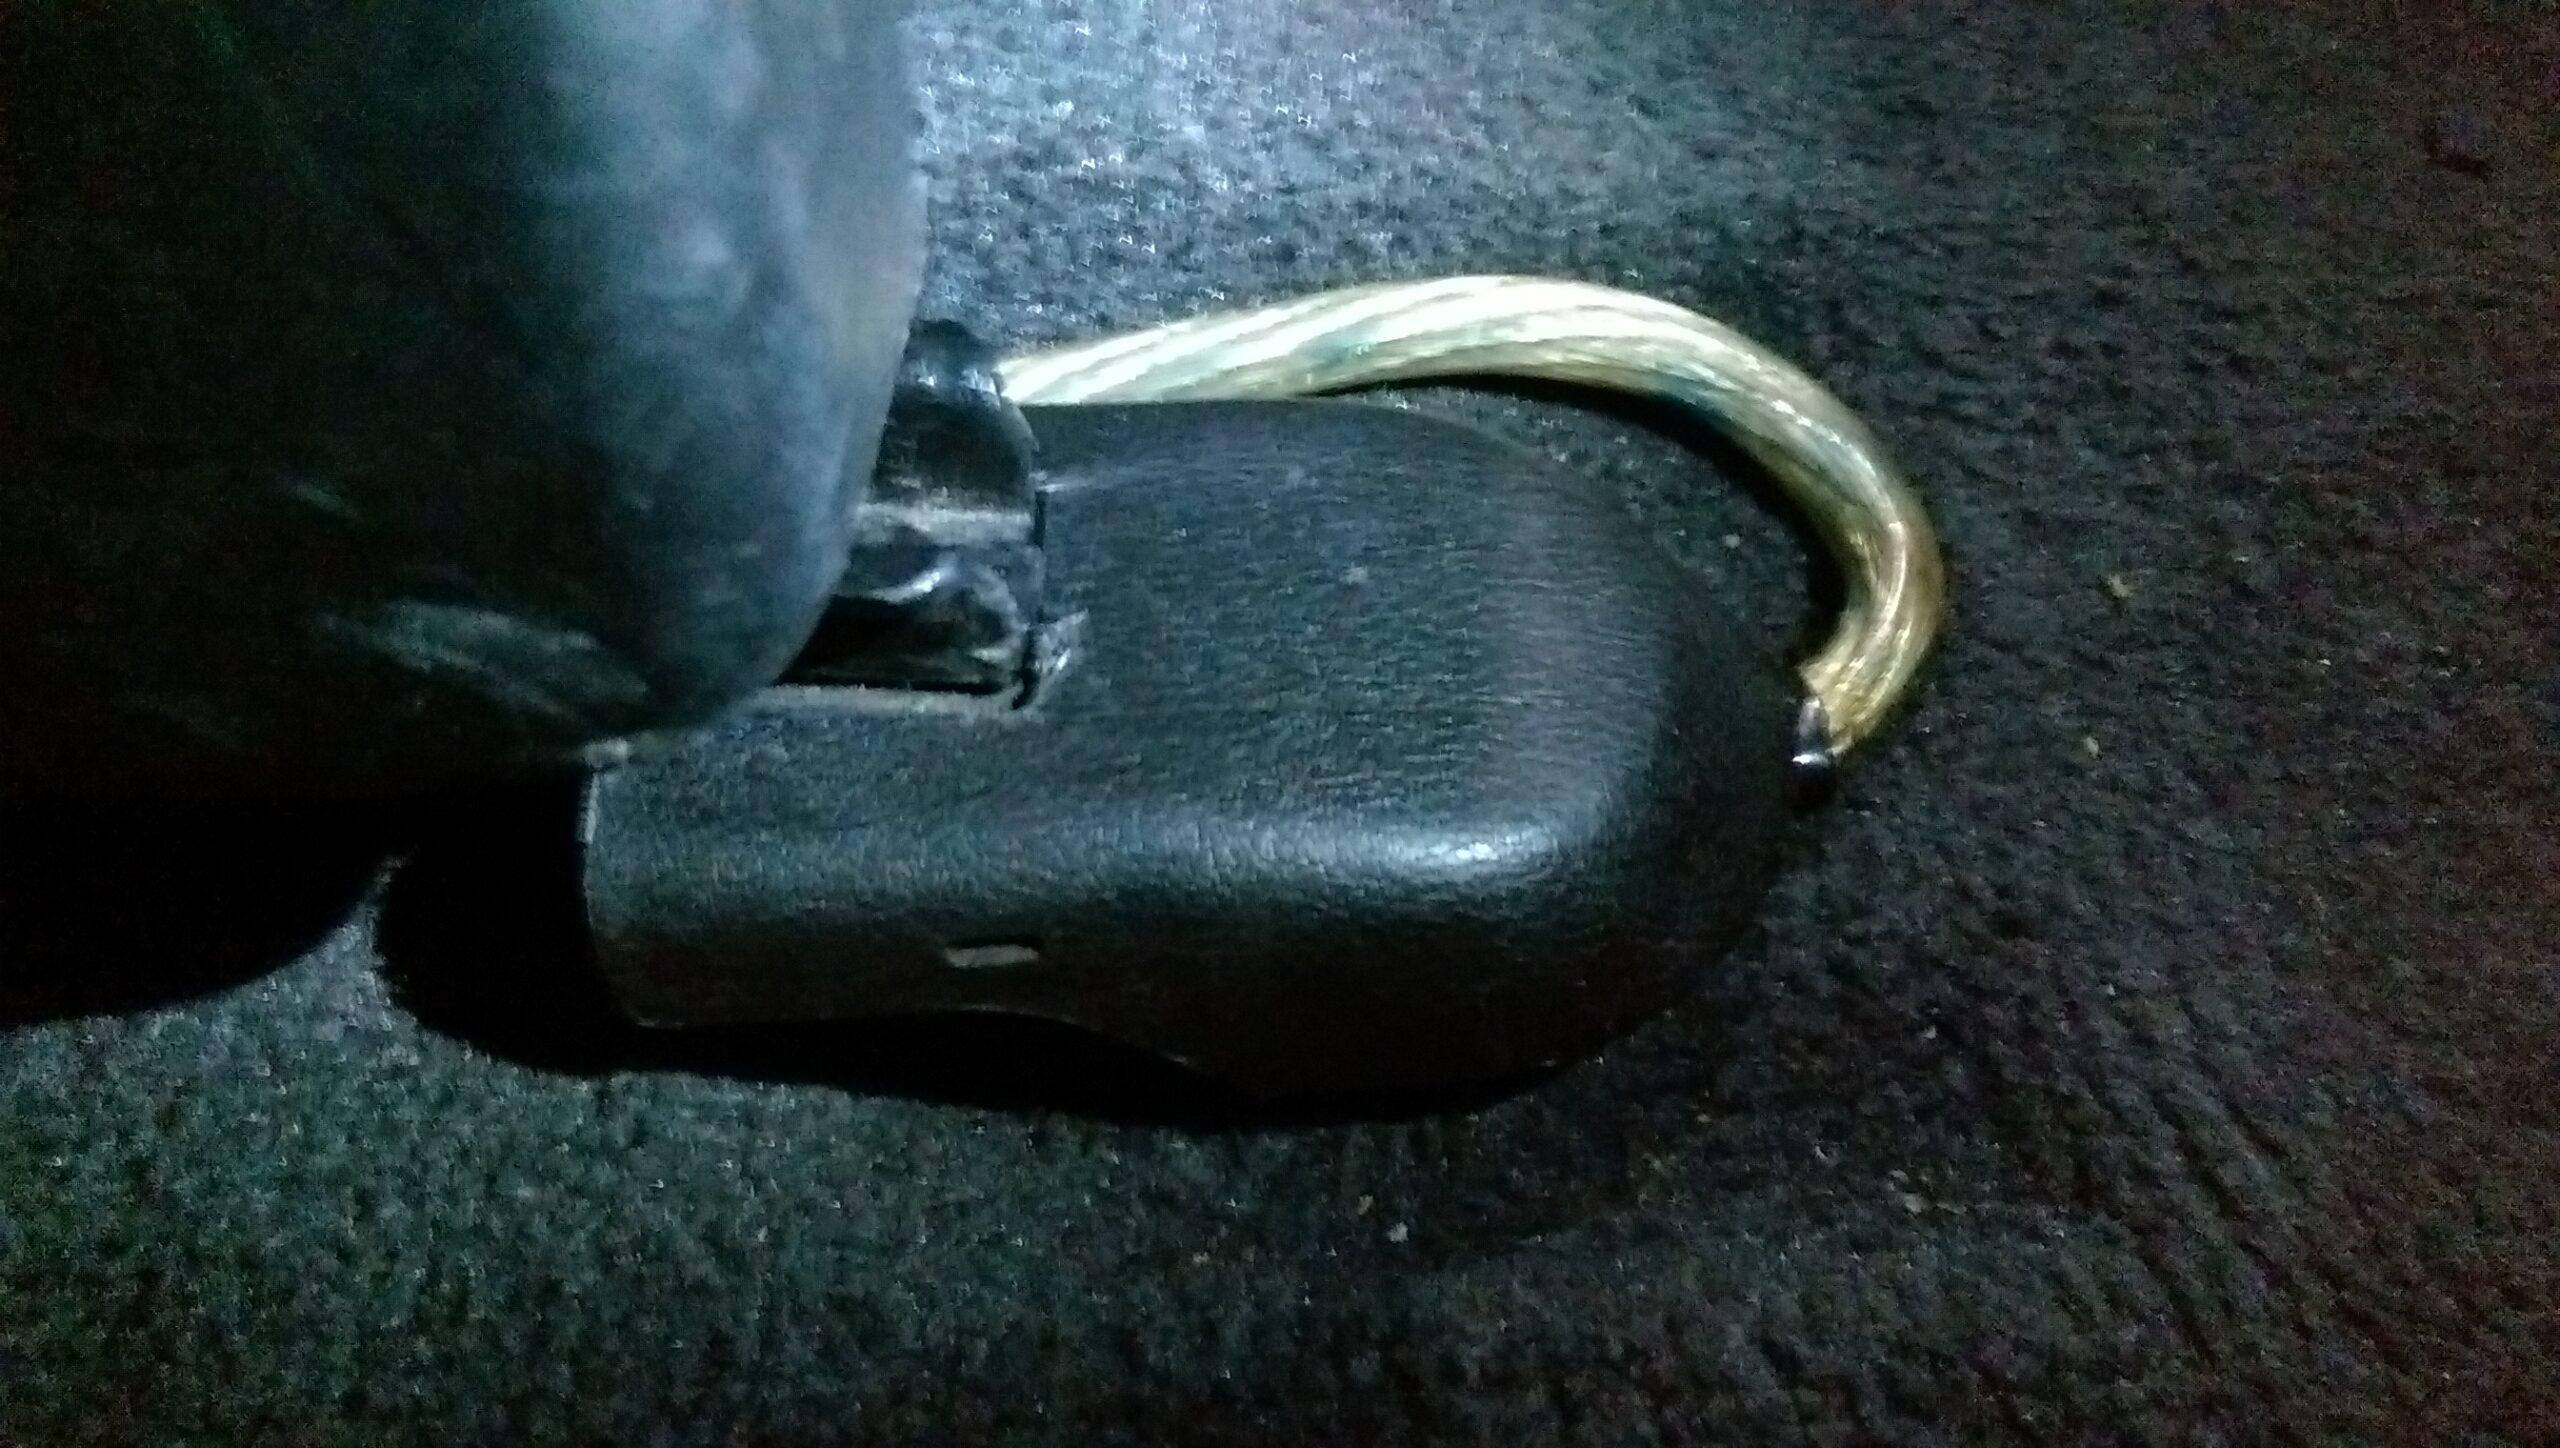
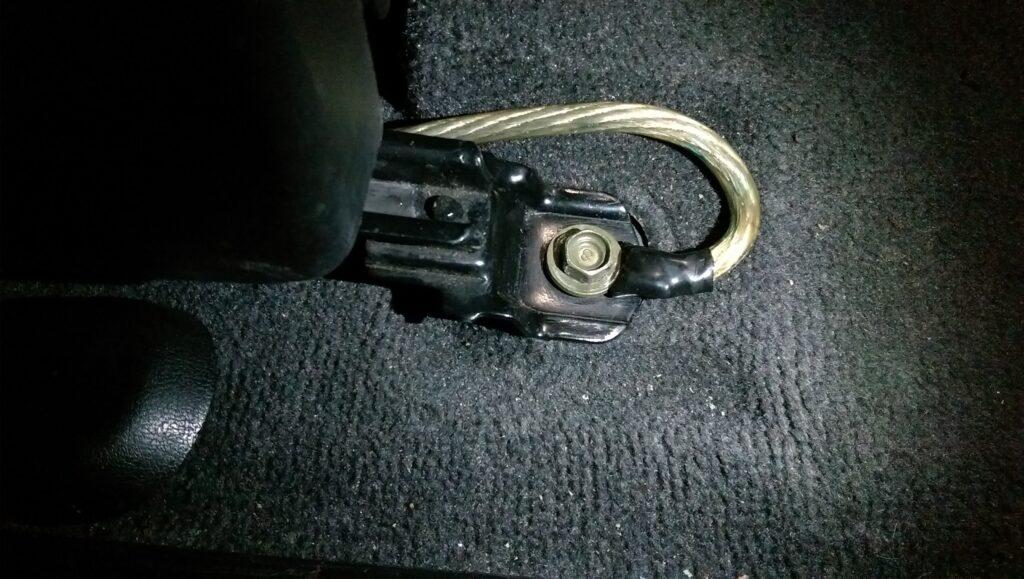
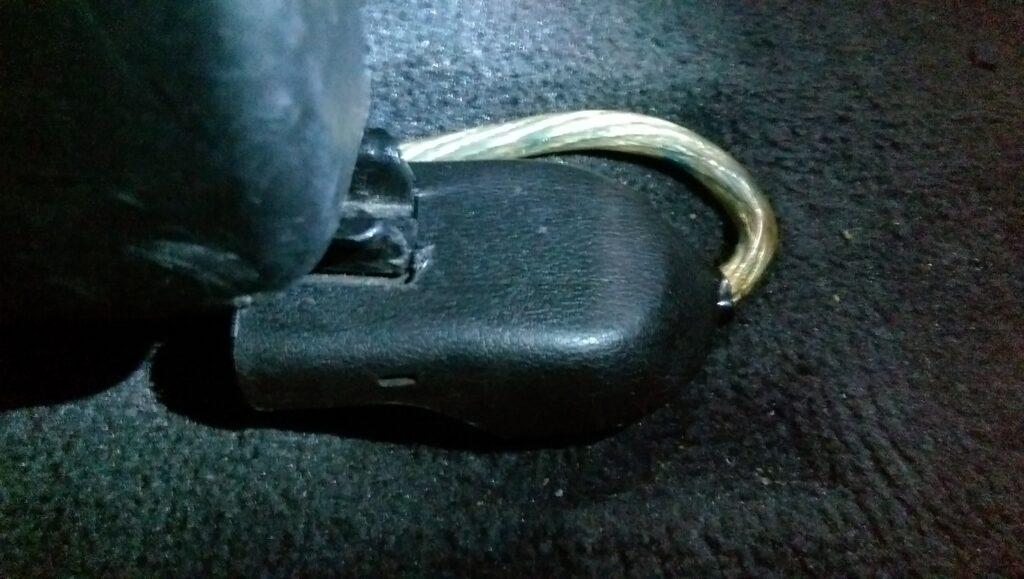
 One thing you have to look out for if you were to do the install is to check the clearance of the seat bracket. The slider lever has a tab that sticks out about 1.25″, so you will need to make sure the amp isn’t too long and that your wires will not be in the way. Lucky for me, again, my wires come down in an angle!

Images are broken