| Line 57: | Line 57: | ||
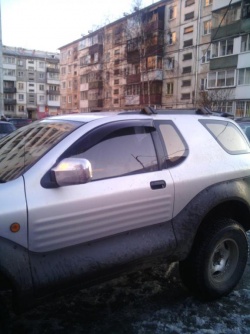
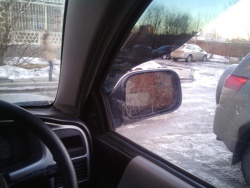
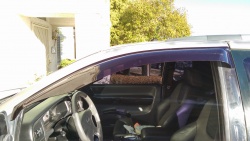
[[File:jdm_deflector_installed06.jpg|250px]][[File:jdm_deflector_installed07.jpg|250px]][[File:jdm_deflector_installed08.jpg|250px]] [[File:jdm_deflector_installed09.jpg|250px]] | [[File:jdm_deflector_installed06.jpg|250px]][[File:jdm_deflector_installed07.jpg|250px]][[File:jdm_deflector_installed08.jpg|250px]] [[File:jdm_deflector_installed09.jpg|250px]] | ||
[[File:jdm_deflector_installed10.jpg|250px]] | |||
{{portnav}} | {{portnav}} | ||
Latest revision as of 11:13, 29 June 2015
This page is incomplete. Information may change at any time.
Information
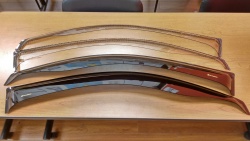
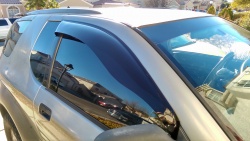
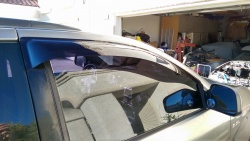
These JDM Style Wind Deflectors were part of a small group buy and made in Russia by Plastic Car Accessories. A vehicross.info forum member by the name of Petos in Russia coordinated the manufacturing process and myself (Knigh7s) the US distributor. Although based on the limited and extremely hard to find OEM JDM version, they were modified for ease of manufacturing. The trailing edge is a lot wider and the front "lip" has been cut or shortened do to cracking or breakage during the manufacturing process.
There were a total of 14 Wind Deflectors made for the US group buy.
2 Astral Silver
1 White
1 Kaiser
2 Ebony
8 Tinted
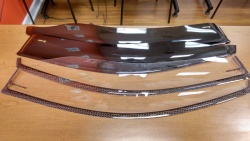
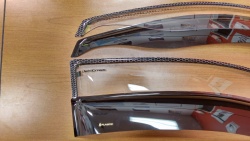
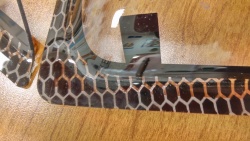
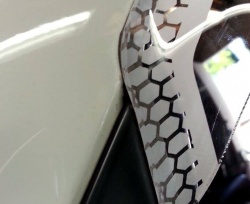
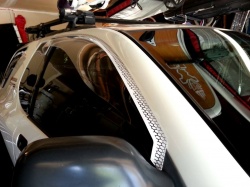
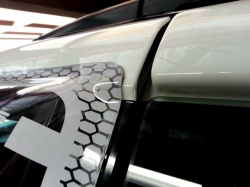
The clear come with a colored "honey comb" design printed on the top edge and the word "Vehicross" at the rear.
The tinted version has a "limo tint" transparency to them and a manufacturer sticker that says "Plastic" which is removable.
Quality & Issues
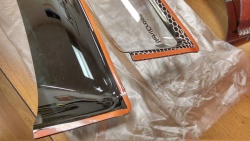
Clarity is pretty good with these but they did not come without defects. There are a few that have rough or cloudy spots to them either from mishandling during the vacuum forming stage while the material was hot or the raw material were not of the highest quality. There is also a noticeable difference in thickness between the tinted and clear deflectors. There were also slight fitment issues that can be fixed with a heat gun which is noted below in the install instructions. Also, as the name implies, "wind deflector" these do not do a good job of deflecting wind because of its design. I've come to call them wind scoops as the trailing edge of the deflector seem to scoop the air into the rear of an open window. With a slight modification, I believe this could be remedied. So I'd think these would be better called Vent Visors. Other than that, these are a nice addition to the Vehicross.
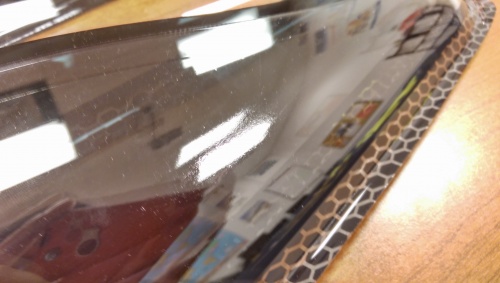
Rough spot shown at the center of image in the light reflection. (only way I was able to show it with the camera I was using) Everything else were dust and lint from static.

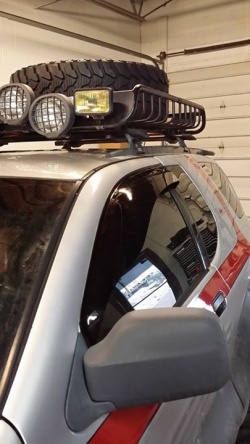
If possible, I would cut off where the red lines are to combat the air scoop effect and get rid of that front piece that barely sticks to the mirror plastic. I can't vouch for this mod yet, as I have yet to figure out how I would do it without cracking it.
Install Instructions
- Dry fit the deflector to visualize installation location paying extra attention to the front lip that sticks to the plastic mirror mount plate. Make sure it properly clears the curved portion of the mirror mount plate.
- Thoroughly clean the installation area above the windows, making sure that all dirt, dust, oil, and wax have been removed.
- Use provided alcohol wipes over cleaned area.
- On opposite ends, peel about 1 to 2 inches of each strip of double sided adhesive back and crease them. (IMPORTANT TO REMEMBER)
- Using two pieces of painters tape, attach one to the front and one to the back top edge and tape to your door frame while aligning deflectors in its final position.
- Make any adjustments here before fully peeling the adhesive backing.
- Slowly peel the adhesive backing careful not to tear it while applying pressure.
- As a suggestion, I would work from the mirror back because of the curve on the mirror mount plate.
- You will probably have noticed that the leading and trailing ends do not adhere to the door and plastic mirror mount because of the slight curvature of the door. This is where you will need to utilize a heat gun and hit it from the back, being careful not to leave the heat gun in one spot (do not let the tip of the heat gun touch the plastic). You will need to get these pretty hot to get them to flex enough. After a few minutes, press down from the front to get these to flex into place. Make sure you are wearing some thick smooth leather gloves as it will be extremely hot. While pressing down, switch your heat gun to cool air and hold it there till the deflector is cool to the touch then let go. You may have to repeat this process multiple times till you can get the right fit.
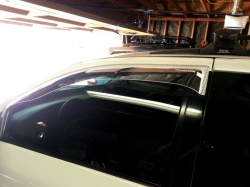
- The main issue will be the trailing edge. You will notice the deflector does not fit flush around the lip of the door. I was not able to fix this even with the heat gun. Also I was not able to get these to properly line up to the trailing edge of the door as seen in the picture.
File:Jdm deflector04.jpgFile:Jdm deflector04.jpgFile:Jdm deflector04.jpg File:Jdm deflector07.jpgFile:Jdm deflector07.jpgFile:Jdm deflector09.jpg
Member Photos
Wiki Sections
This Wiki is dedicated to collecting vast amounts of information on the Isuzu Vehicross. The site is a constantly growing collaboration by members to help others learn about the Isuzu Vehicross. We strive for non-biased, factual articles that will assist others in making educated decisions about the Isuzu Vehicross. Whether you are researching the Isuzu Vehicross as a potential car, or looking for new ways to improve its performance and/or looks, this site has what you are looking for.
Formatting
Learn how to add content and template items to your articles and tutorials using proper wiki syntax. This site is also bootstrapped, to make everything responsive and visually pleasing.
FAQ
Frequently Asked Questions Find all the data you need on any specific item
